How To Install A Subwoofer To A Factory Stereo
In this article, we will learn how to install a subwoofer in a factory-bought stereo for your car. Adding a subwoofer to your factory stereo is not a light job but it is a great project for a Saturday afternoon. Grab some beverages and make a day out of it.
If you do have a factory amp that is already installed in your vehicle, adding a subwoofer to that factory amp makes the job easy. You don’t need to go out and choose a different amplifier. You might only have to align the specifications of your subwoofer to your amplifier, but that will be discussed.
Without wasting any time, let’s get the ball rolling!
Why Install An Amp And Subwoofer To A Factory Stereo?
Adding an amp and a sub to your factory stereo provides bass for your music. Adding a subwoofer that takes charge of handling one specific frequency takes the load off your stereo. From producing all frequencies to producing only one allows less pressure on your factory sound.
If you already have an amplifier installed on your stereo, this helps with balancing the subwoofer. You can adjust the filter to balance the bass and the music because only hearing bass can put unnecessary strain on the subwoofer. Allow the subwoofer to give out some bass with the music being clear as well. Another reason for installing this subwoofer is that it can amplify the sound of your music, giving another frequency to the audio.
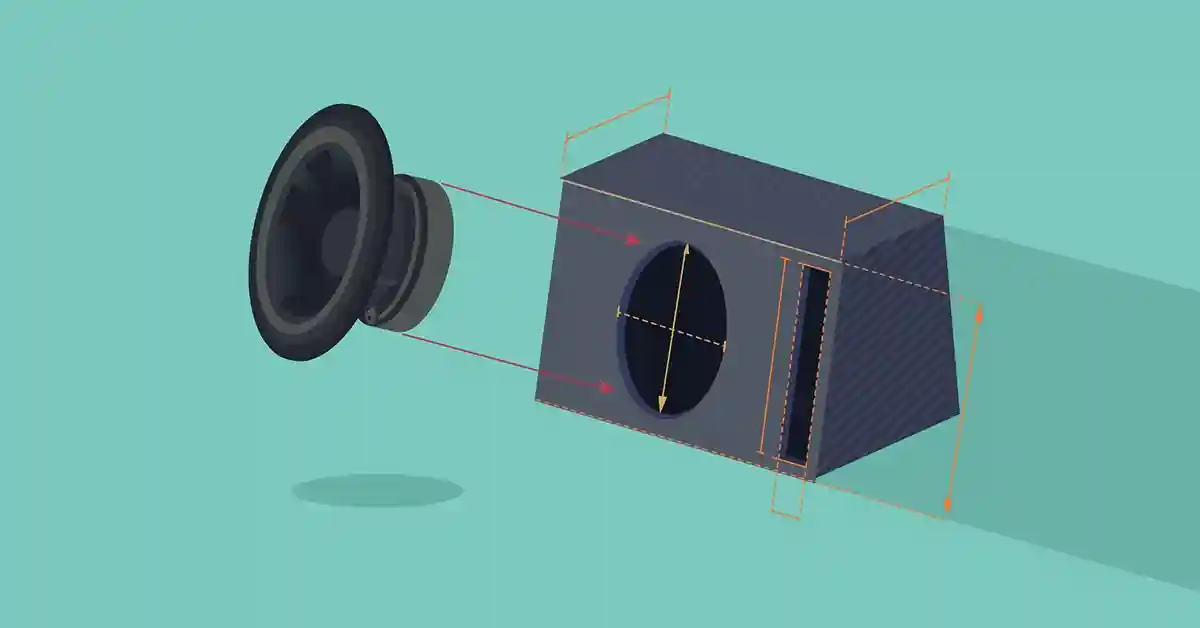
There are a few things you need before though, the subwoofer is an important one. Ensure that you already have your subwoofer in a subwoofer box (check this article on how to build a subwoofer box).
What You’ll Need To Connect A Subwoofer To A Factory Stereo
• Screwdrivers (Flat / Phillips)
• Soldering iron
• Wire cutters
• Utility knife
• Electrical tape
• Socket
• Caulk
• Wrench
• Subwoofer Box
• Subwoofer Speaker (Already installed in the box)
• Amplifier
• Speaker Wire (Include a different colored wire that connects to your amplifier for remote access, we will use a blue wire in our article)
• Power Wire (With a metallic ring on both ends)
• Wire Harness Kit (Ensure to include a Hi-Low or Line-Out converter)
How To Install A Subwoofer To A Factory Stereo
To get started, you'll need to look at the following in order to make the job a success.
Choose A Speaker And An Amp

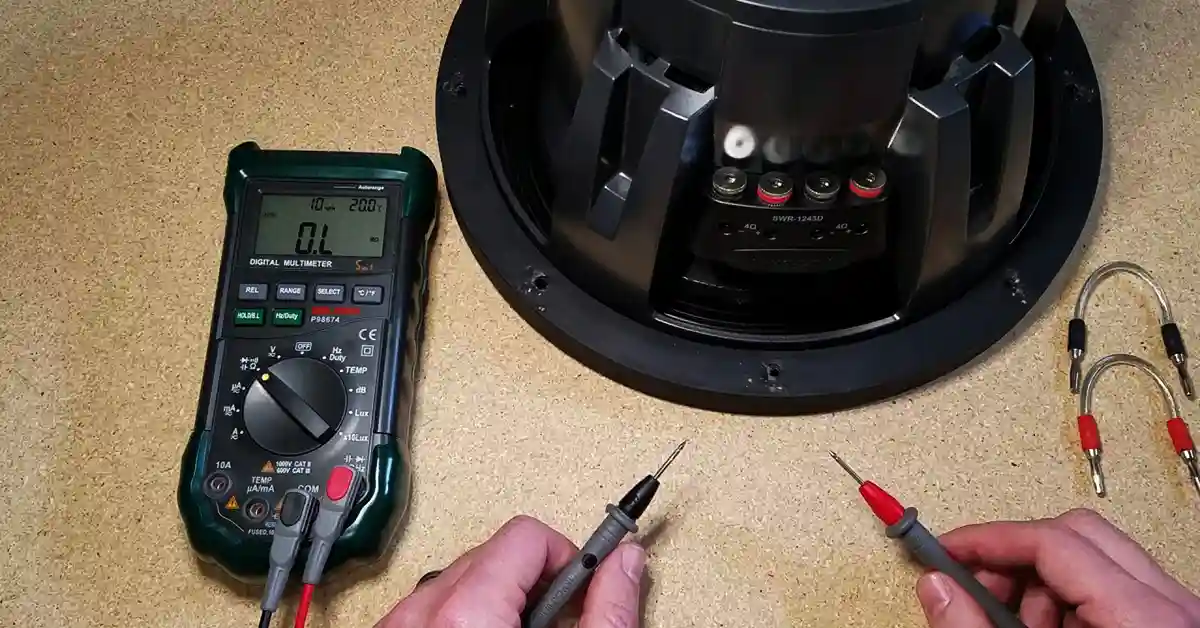
A subwoofer generates a lot of heat. Paired with an amplifier would mean that the two need to be compatible. Check the RMS and peak rating when considering the type of subwoofer you want to use.
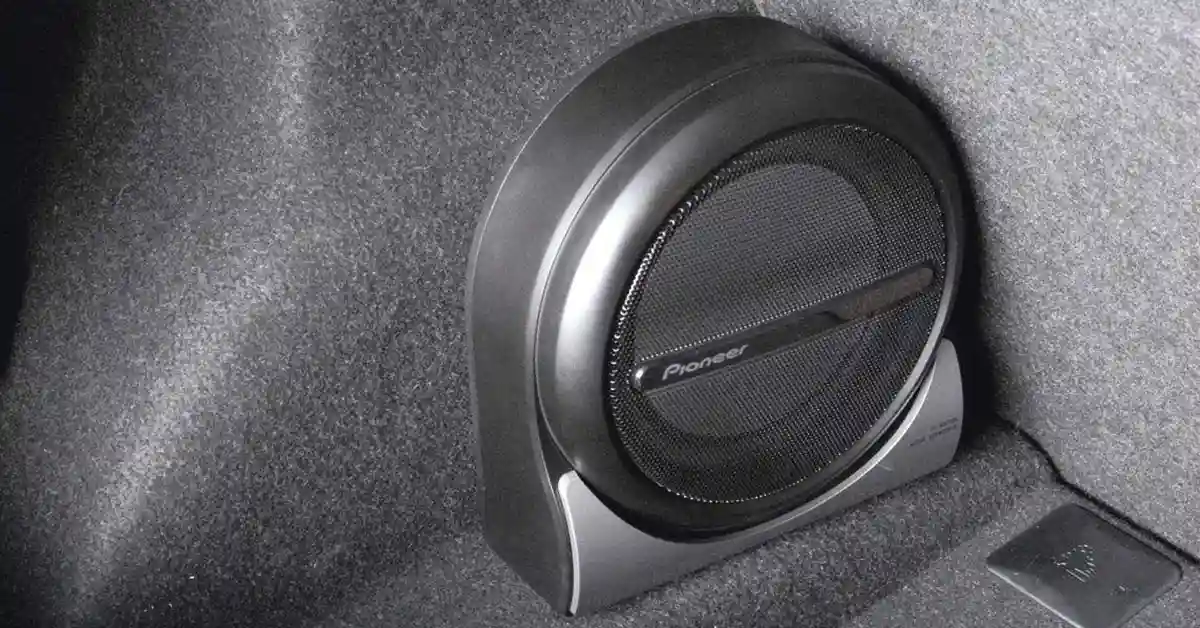
With all the heat the subwoofers produce, it is best to keep them in a ventilated area without it being a distraction. The trunk of your car would be the best option.
Disconnect The Battery

Disconnect the negative terminal of your battery. You avoid potential damage to your car and yourself. When you’re disconnecting the terminal, put a stopper at the end of the nut. This will serve as a placeholder for your power wire.
Disconnect The Wires Of The Speaker
In this case, we will be disconnecting the wires of the subwoofer and vehicle’s primary power source.
- Unplug any wires from their ports or terminals.
- You can also remove the subwoofer from the car and place it aside.
- Once all the wiring is done, you can re-install your subwoofer and plug in all the wires.
Identify The Relevant Connections
In this step, we’re identifying areas to feed your wire.
- Locate the firewall.
- This is the area close to the windshield, at the driver’s pedals.
- It is a small hole where you can feed wire through, if the hole is not big enough, use your utility knife or blade to pry open the hole.
- Identify door panels or roof panels.
- These panels will be used to cover the wire.
- You can either shimmy the wire under the panels or you can tuck the wires under the carpet.
- On your battery, there is a section for you to insert the power wire ring.
Run The Wire
We’re going to run the wire to different parts of the car. Let us start with the battery or the power wire.
Power Wire
- Insert the ring of the power wire between your stopper and nut on the positive terminal of the battery.
- Wrap your power wire in the flex loom.
- The loom prevents any damage to your wire, especially in areas where there is a lot of heat.

- Locate your firewall.
- You’re going to feed this wire through the firewall.
- Maybe use the end of a coat hanger to catch the ring, and pull it through.
Install a fuse to a section of the wire as close to the battery, this will prevent any shocks or electrical impulse damage to the vehicle.
- Once you’ve got the wire through the firewall and visible enough from the inside of the car, you have to run the wire to the trunk of your vehicle.
- You have two options here, you can go with a more discreet look and hide your wires, or you can keep them in plain sight. (We recommend hiding your wire)
- Stuff the wire underneath the carpet of your vehicle, running the wire all the way to the back
- If the carpet does not pry open, you can slightly lift the panel to hide your wire.
- Ensure that the wire goes to the back with enough space to be connected to the sound system.
There is a wire hanging solo in the trunk of your vehicle, this wire connects to the power supply of your subwoofer. Once we have our subwoofer positioned, we can connect the power wire.
Ground Wire
- Locate a bolt that is connected to the chassis of the vehicle.
- Unscrew and remove the bolt from the chassis.
- Sand off any paint to ensure a proper ground connection with sandpaper.
- Grab your amplifier wire (this is just speaker wire designated for the amplifier) with the ring on both ends
- Run the bolt down through the ring.
- Connect the bolt into the chassis.
- The metal of the ring and chassis provides the ground connection.
The power and ground wire run down one side of the car. It could be the passenger’s side but it depends on where your firewall opening is located. If the firewall opening is on the driver’s side, your power and ground wire will be run on that side. Dealing with your amplifier, we have to go to the other side of the car. But first, we need to access our factory stereo
Accessing The Stereo
- Remove the dashboard.
- We want to get to the speaker wire at the back of the radio.
- Unplug all the wires connected to the radio.
- Identify your speaker wire
- Access the speaker wire by inserting a Posi Tap Connector (these allow you to tap into hot leads without cutting or stripping wire)
- Attach separate speaker wire to the Posi Taps.
- Grab some of your power wire and connect it to the power and ground terminals of your stereo.
- Find a space in your dash for either a Hi-Low Converter or Line-Out Converter.
- Attach the power wire and speaker wire to the converter
- Notice the amount of RCA output you have for RCA jacks, you’re only supposed to use two of them but if you’re comfortable with the 4, go for it.
- Run the remaining power wire and RCA along the side of your vehicle to the trunk.
Connect To The Sound System
- Connect your RCA to the amplifier RCA connections
- Connect your first power and a ground wire that came from the battery to the amplifier.
- There has to be an extra wire that you’re a little bit confused about, that could be the remote turn-on wire.
- Connect that wire to the amplifier as well.
- Connect some speaker wire from the amp to the sub.
- Reconnect the negative terminal on your battery.
We are connected! Test your installed sound system with some music.
How To Add a Subwoofer To Stock Stereo?
You can use two methods to add a subwoofer to stock stereo:
Hi-Low Converter
It is a small converter that connects to your speaker and provides RCA inputs.

Line-Out Converter
A line converter lets you connect a factory stereo to an amp. An aftermarket stereo does not need a line output converter. A line-out converter works on a much larger scale, providing a better quality of sound while preserving your existing stereo and controls.

Conclusion: Installing A Subwoofer In Your Factory Stereo
We ran power wire from the battery back to the trunk. Grounded to a seat bolt. Grabbed speaker wire signal from the factory radio in the dash, connected that to a line output converter at the back of the radio, and ran RCA cables and blue remote turn-on wire from behind the radio down the opposite side of the car back to the amp. We hooked up the subwoofer and amp to the car.
We hope this post has helped you in your journey and maybe taught you something along the way.


Related Articles