Take Out In-Ceiling Speakers: How To Remove In-Ceiling Speakers?
In-ceiling or ceiling-mounted speakers save space in your home and give your house a contemporary look. However, replacing them can be a challenge.
Replacing them should ideally be done by an audio/video specialist, but this service may come at a steep cost. So, let's keep reading and understand potential ways to remove in-ceiling speakers and save significant money.
Is Removing In-Ceiling Speakers Easy?
If the speakers blow and need to be replaced, it is very difficult to do so.
Many customers choose to employ a professional audio expert over removing their broken ceiling speakers themselves. Nonetheless, most people prefer to handle things independently because they lack the funds.
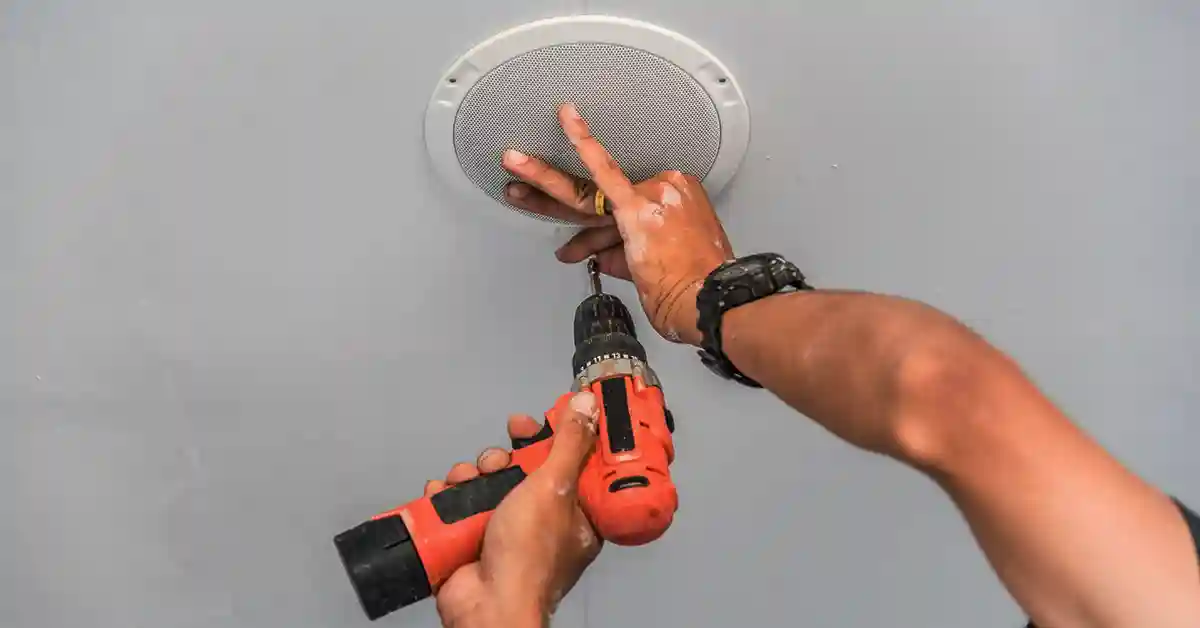
You may easily remove your ceiling speakers and drastically lower the service cost by paying close attention to detail and investing a little time and effort. Without any prior expertise, we will teach you how to take down those ceiling speakers like a pro. However, let's start by looking at the equipment you'll need to do the task.
It is simple to remove ceiling speakers. You'll need the following equipment to remove your ceiling speakers:
- Screwdriver
- 1/2-inch or 1/4-inch socket wrench
- Speaker wire connectors
- Ladder
Steps to Remove In-Ceiling Speakers
Removing ceiling speakers is simple if you know what you're doing. In reality, you can perform the work in only a few steps.
To remove ceiling speakers, you must follow these steps:
Step 1: Turn Off The Power
Find the circuit breaker panel for the room or the entire home before you begin removing your ceiling speakers.
You should turn off the power to the speakers once you've located it. This typically indicates you'll have to shut off the breaker completely.
If you are still determining which switch is connected to that room, you must turn off the electricity in the house. By doing this, the chance of receiving an electric shock is eliminated.
Step 2: Pick A Ladder
After turning the power off, set a ladder underneath the ceiling speakers. Of course, doing this will make it easier for you to access the speakers and reduce the chance of ceiling damage.
Step 3: Start Removing The Speaker Grills
Use an awl to dig a hole in one of the four corners of the grill cover of your ceiling speaker. Until that portion of the grill separates from the speaker assembly, you must gently but firmly draw the awl.
Repeat the previous process for each corner when the grill cover has been removed from your ceiling speaker.
Step 4: Unscrew The Screw And Bolts
After removing the grill, locate and remove all the screws or bolts holding the speaker to the ceiling.
Remove any screws that are holding the grill in place. The screwdriver you use will depend on the screw the ceiling speaker employs.
In-ceiling speakers are attached with Philips head screws, which are rather simple to remove with a standard Phillips screwdriver. Hence, if star screws hold up your ceiling speakers, use a Phillips head screwdriver; if the screw has a single split, use a flathead screwdriver; and so on. But you might need to remove the bolts with a 1/2-inch or 1/4-inch socket wrench.
Step 5: Carefully Remove The Retention Clips
Remove retention clips holding your speaker to the ceiling using a flat-head screwdriver.
Retention clips are not present on all ceiling clips. How did you find out? Retention clips are small, usually made of plastic, that hold the speaker in position so that it fits neatly into the cutout.
The speaker must be removed by prying them apart with the flathead screwdriver. Care should be taken to prevent the breaking of the clips.
Step 6: Pull The Speaker Carefully
After removing the retention clips, the speaker must be slightly pulled out of the ceiling, and the cords must be unplugged at the back.
To prevent severing the audio cords, you must take caution when removing the speaker. You can now remove the speaker from the ceiling after removing all the screws, retention clips, and audio cables.
Step 7: Detach Wires From The Speakers
Speaker wire connectors are typically used to connect most wires and are simple to remove. Ascertain that the receiver or amplifier is turned off before using the ceiling speaker.
If you have trouble removing these connectors, you might need to cut the wires at the proper location. If you do this, you'll need to get some high-quality speaker wire connectors to reattach the wires afterward.
After you've mastered all of the preceding procedures, you can repeat the procedure to remove the other speakers from your ceiling.
Precautions Needed While Removing In-Circuit Speakers
Ensure the electrical circuit is turned off before removing your ceiling speakers to prevent unintended incidents. For instance, a simple test would be to turn on a light in the room.
Remember to exercise extreme caution when doing this to prevent any injuries. When working with electricity, follow all standard safety precautions, such as wearing appropriate footwear and gloves. If you are unsure you can do the task alone, you can seek assistance.
How To Remove In Ceiling Subwoofers?
When compared to standard speakers, subwoofers are typically bigger and heavier. As a result, if it is situated in the attic, avoid attempting to walk across it while holding the gadget and resting on ceiling trusses. Choose a sturdy surface, like plywood, to walk on instead.
The sub will often be fastened directly to the roof's trusses. Unscrewing the screws will allow you to remove them. When you've finished, gently set the gadget on the plywood rather than the trusses.
FAQs
Are Ceiling Speakers Standard Size?
Ceiling speakers often come in 6.5 or 8-inch diameters. The size does not refer to the speaker's total size but rather the cone's size. The 6.5-inch practical and adaptable speaker works well in small to medium-sized rooms.
How To Remove Ceiling Speaker Grills
Speaker grills are mesh speaker coverings that go over speakers. The cover is often made of metal or tough plastic. It may also occasionally be tightly coiled fabric.
Pressure fit or magnetic tape is used to secure these coverings. You'll need a tool tiny enough to squeeze into the narrow gap between the speaker's cover and the speaker itself to remove by pressure fit without any damage to the speaker.
Naturally, you can use this tool as a hook to pry open the corners. Choose a spot for the hook device to go first, then move the gadget gradually around the speakers.
How To Remove Round Ceiling Speakers?
Most ceiling speakers are circular, so "how to remove circular ceiling speakers" and "how to remove ceiling speakers" are virtually identical.
The good news is that the process is essentially the same for circular ceiling speakers except for the grill removal.
How To Remove Passive Ceiling Speaker Amplifiers?
An amplifier mounted on the wall, or the ceiling is typically coupled to passive ceiling speakers. Screws, glue, and other fixings, among others, are used to secure these amplifiers in place. After turning it off and disconnecting all connections, carefully remove the device.
Conclusion
Even though it's less complicated to hire a technician to take down ceiling speakers, it's always best to do it yourself. Ceiling speaker removal is not difficult, as demonstrated in this guide.
You can finish the assignment on your schedule and save a significant amount of money by doing this. Following the procedures listed above, you'll discover it's not as challenging as you imagined.
Related Articles
