How To Test A Subwoofer
You just came home from a hard day's work with a pile of assignments to finish up because you decided to go back to school and pay the fees on your own. The assignments look daunting and you don’t know where to start. This is where you switch on your speaker system to calm your mind.
The genre of music that you pick requires a lot of bass, but no worries because you have your subwoofer switched on as well. Waiting in anticipation, the first beat drops with no bass drop. What happened? You decide to test your subwoofer to see what’s the issue but don’t know how to.
Well, you’ve come to the right place, we’re about to take a journey on testing a subwoofer.
How To Test Subwoofers
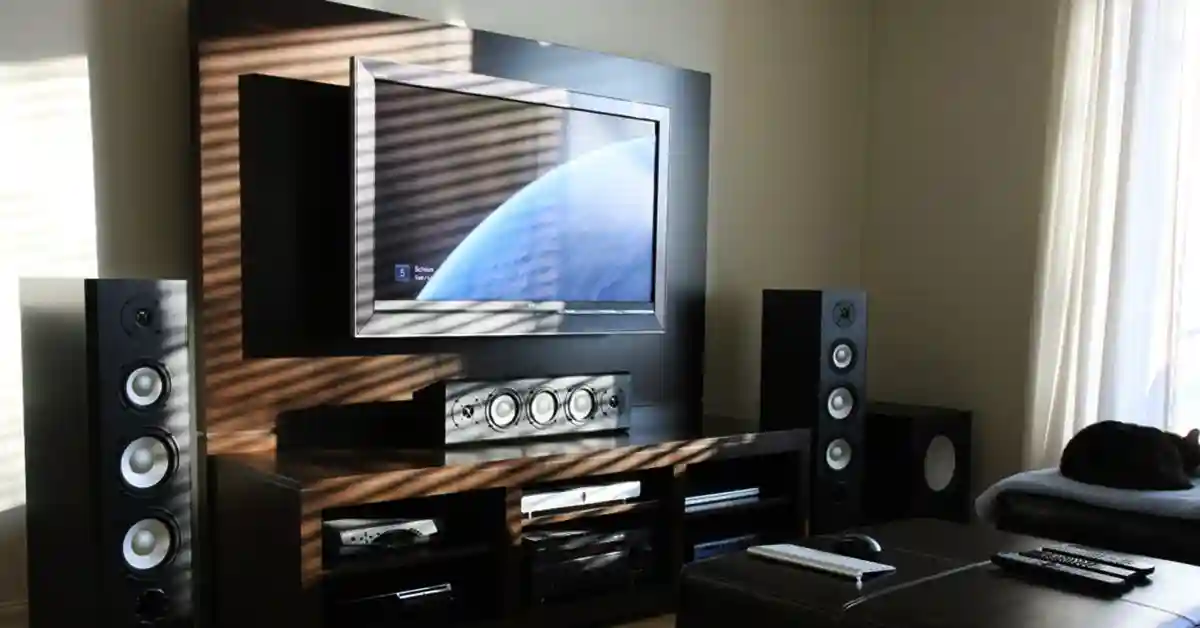
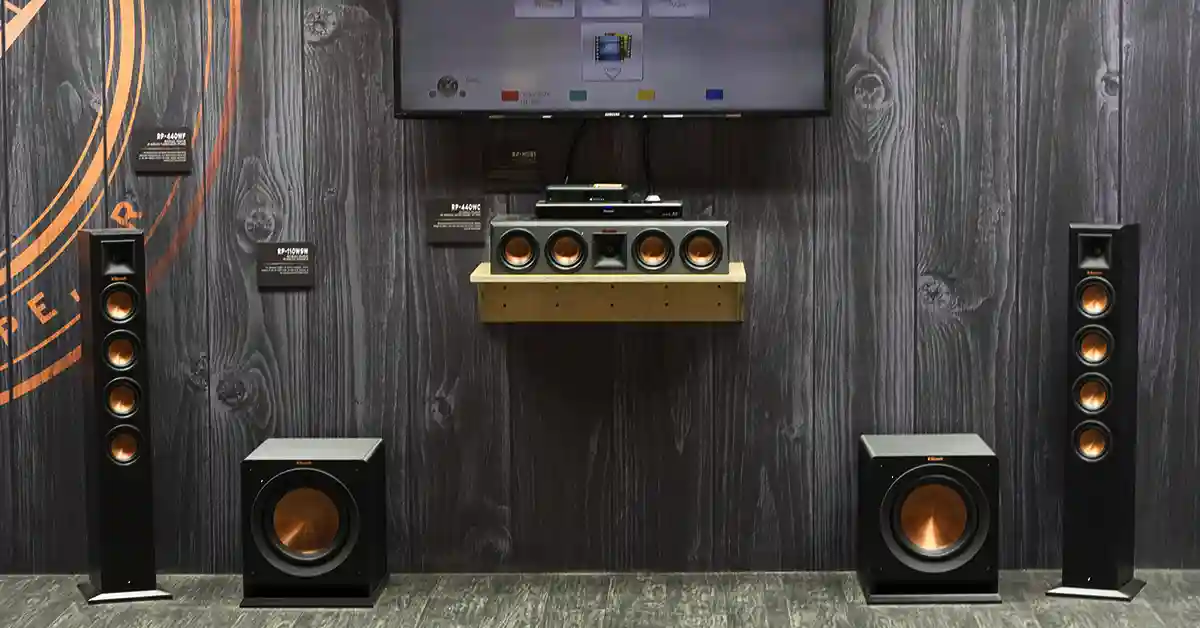
The bass that you hear comes from your subwoofer as it provides a lower frequency. Your tweeters(if you have tweeters installed) serve to give a higher frequency of sound. The majority of people look to pump out more bass because it makes the music sound louder, but as a music enthusiast, you look for a more equalized sound with equal parts bass and high-pitch frequencies.
Sometimes you play your speakers at higher sounds to hear the bass but this can cause great displacements in the coil. Before we look into testing your subwoofer, the coil is also an important factor to consider. The coil can become loose or lose its original position due to the high volumes.
The cone may also break away from the coil, this would mean that the subwoofer speaker has blown.
Subwoofer Blown Voice Coil Symptoms
A voice coil is the coil of wire attached to a loudspeaker cone. When your subwoofer has been used for a while, sometimes it does not produce the same intensity of bass that it always has. This bass comes from the cones vibrating vigorously with the help of the voice coils. To test whether or not your voice coils are damaged, obtain a multimeter with testing probs (negative and positive). Attach the positive and negative probs to the positive and negative terminals to measure the electrical resistance in the coil. The resistance is measured in ohms. An ohm reading of zero would mean that your coils are damaged, any reading above 1 ohm means that your coils are not blown. Any reading below 1 ohm proves to be a strong signal that your coils are blown.
After we’ve established that the voice coils are not blown, we can move on to test if the subwoofer is blown. Two methods will be discussed.
How To Test A Subwoofer With A Battery
To test your subwoofers with a battery, you would need a couple of things first. We’re going to include the multimeter because the following method will include a multimeter. You’re manually testing your subwoofers which means that you will need:
- A 9-volt battery
- Some speaker wire
- A tester or multimeter
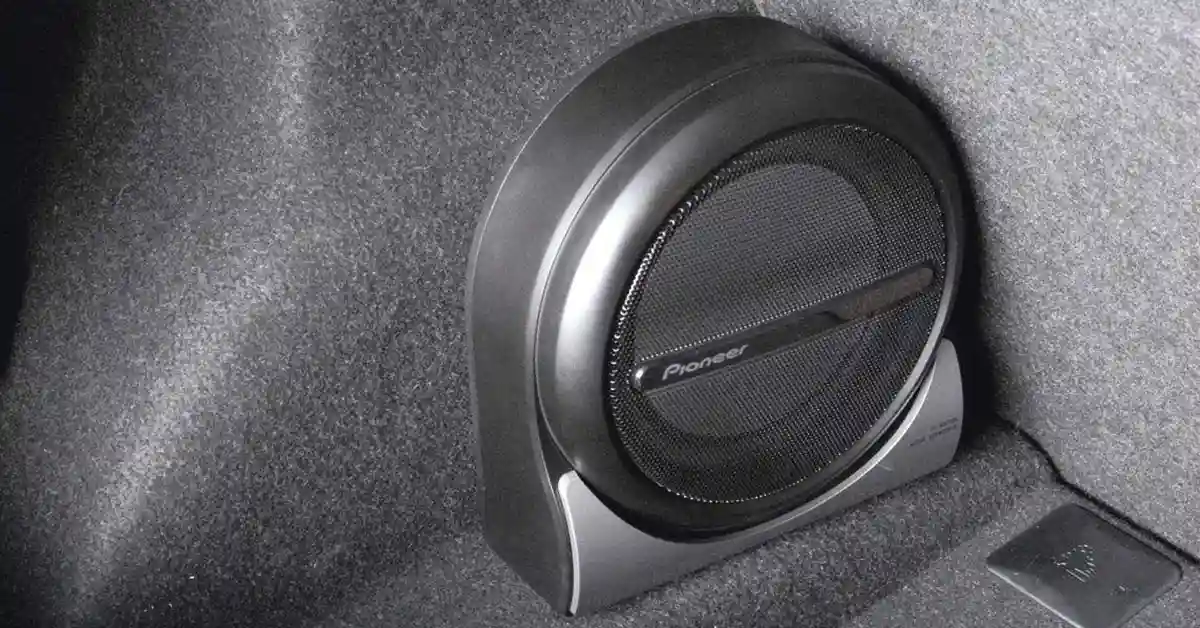
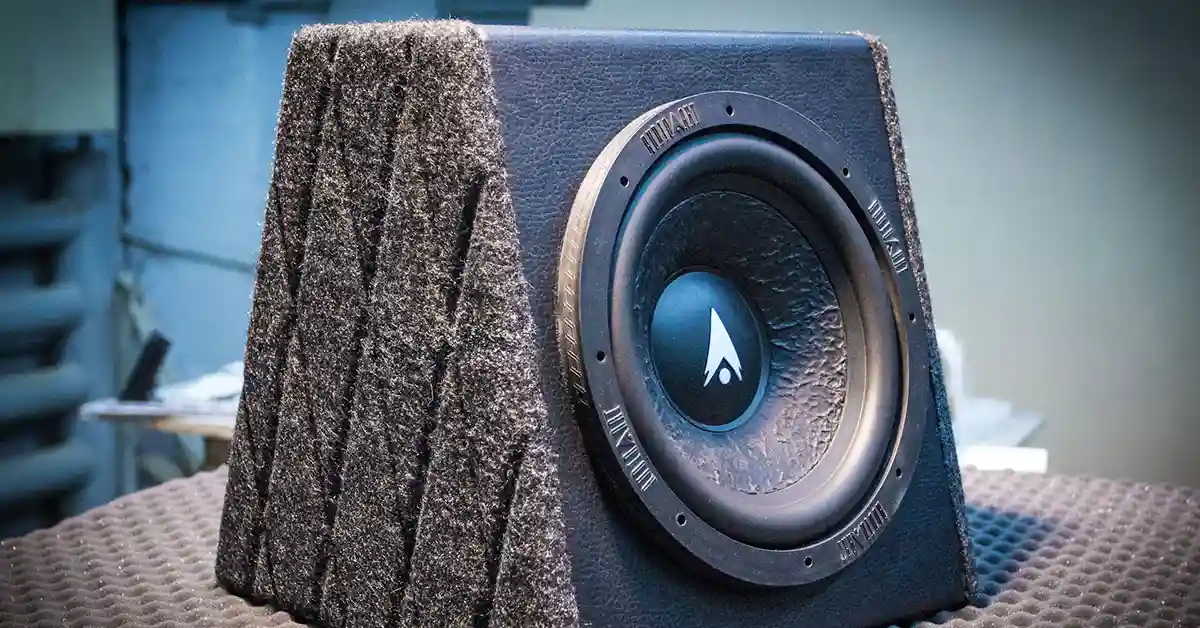
- A subwoofer
All of these items can be purchased on Amazon or at your local hardware store.
To the actual test, there are two methods I will describe but a few youtube videos will also be attached for a visual effect.
- We’re going to monitor the cone of the woofer.
- The cone needs to rise upwards when it is connected with the battery and downwards when disconnected from the battery.
- If the subwoofer does not move at all, the subwoofer is probably blown.
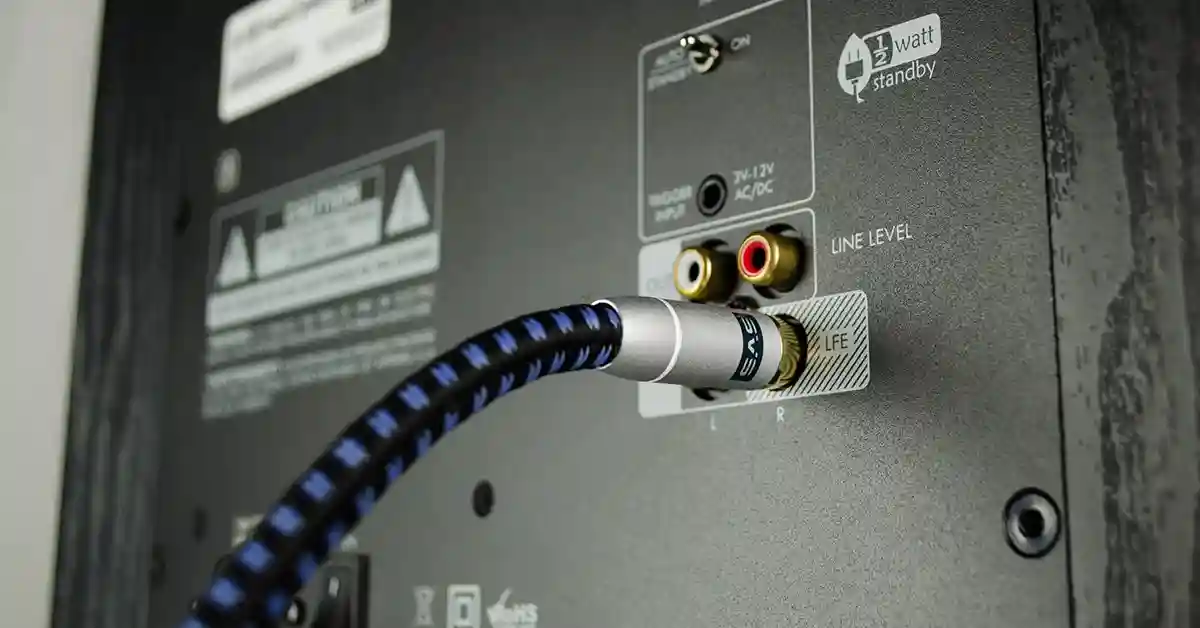
- Connect the speaker wire to the terminal (remember, positive to positive and negative to negative) over the subwoofer.
- Let’s stick to the conventional positive and negative pairings.
- For this test, we will not be plugging the subwoofer into an amplifier.
- Hold the wire to the positive terminal and another wire on the negative terminal of the battery.
- The cone needs to move up and down with the subwoofer making slight noises, this is an indication that your subwoofers are working.
The above method does not mention a multimeter, but this method below does.
How To Test A Subwoofer With A Multimeter
Using the multimeter, we can also check the impedance on a subwoofer. Right now, we’re only looking to test the subwoofer. We’re going to use two multimeters for this test, a Fluke multimeter, and a digital multimeter. Here are the steps for testing your subwoofer with a multimeter:
- Set your digital multimeter at 200 ohms and your fluke multimeter at the ohm symbol.
- It's beneficial to know the number of ohms that your device has. Sometimes there isn’t an ohm rating on the device so you can simply google the speaker type and specifications for the ohm rating.
- Touch the two test wires connected to your digital multimeter.
- You should hear a beep sound, this indicates that the multimeter works.
- You don’t need to touch the wires on the fluke multimeter as they will not make a beep sound.
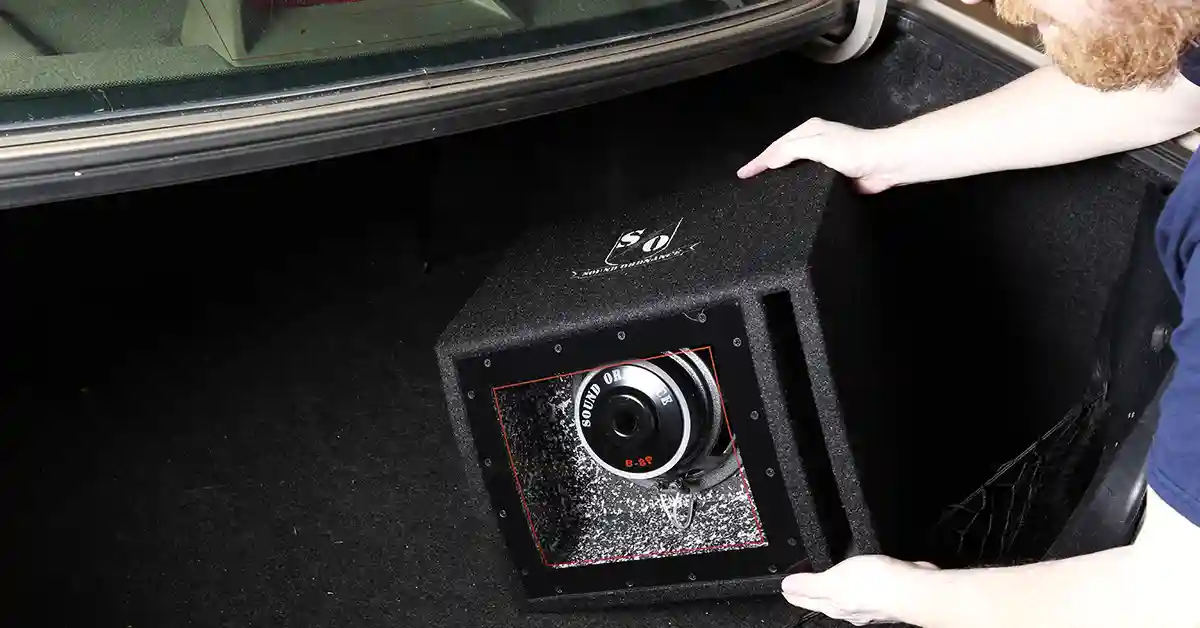
- Position your speaker on a flat surface with the cone facing up.
- Attach the test wires on your digital multimeter to the speaker terminals.
- There should be a clip that you can simply lift to touch the terminals
- It doesn’t have to be negative to negative or vice versa, you can touch the positive wire to the negative terminal as well.
- You should hear a beep sound coming from your multimeter.
- There should be an ohm reading on the multimeter. A side note to mention is that you shouldn’t press on the cone while doing any reading, this will throw off the ohm reading and give you false results.
- This step involves the fluke meter.
- Attach the test wires from your fluke meter to your cone.
- There shouldn’t be any sound coming from the meter.
- There should be an ohm reading present that measures the total ohms produced by that single cone.
If your subwoofer has a dual coil, a 4ohm reading is ideal when testing. Also, make sure that your meters are equipped with a battery that has enough juice in it to provide a solid reading.
If the reading shows less than 1 ohms, there is something wrong with the subwoofer. If the reading shifts drastically, that means that your voice coil is completely damaged.
Maintenance Of Subwoofers
Your subwoofers are normally placed in a stationary position. They rarely move and this can gather up dust. Any audio problems can be prevented by regularly cleaning the system and making sure that you wipe away any dust with a damp cloth. With less obstruction to your cones, your audio system can release a clean source of sound. When you regularly wipe away dirt, you check your wiring for early exposures, preventing potential damage to your system.
Conclusion
Finally, play some music at low volume and listen to the difference in the bass. You can also play different clips and audio tunes to identify any other problems with the bass. Your subwoofer needs to be taken care of.
With the correct testing and regular maintenance checks, your afternoon chill sessions would be as easier as pressing a button! If you've tested your subwoofer, you might want to take it a step further and learn more about breaking subwoofers in.
Subwoofers are enjoyable but complex speakers, so best to learn the most you can about them in order to get the best sound you can.
Related Articles