How To Connect Stereo Speakers To Computer
In this modern era that we live in, stereo speakers are considered a thing of the past, ancient history, a fossil in the young minds of the millennials.
You looked through your grandfather's garage and found this massive speaker. Not knowing what they were, you googled them and asked your grandfather what they did.
He gave you some old tale about how he used to listen to the radio on these speakers at top volume. You decided to compare these stereo speakers to your mini Bluetooth speaker, this one is obviously louder and produces better sound, you think.
How to Connect Old Stereo Speakers to Computer
Just connect your laptop or computer to the aux input and the speakers to the terminals. It sounds easy enough but what about those nitty-gritty details? What about power? What about an amplifier? What about a power source and cables?
These are things we also need to consider.
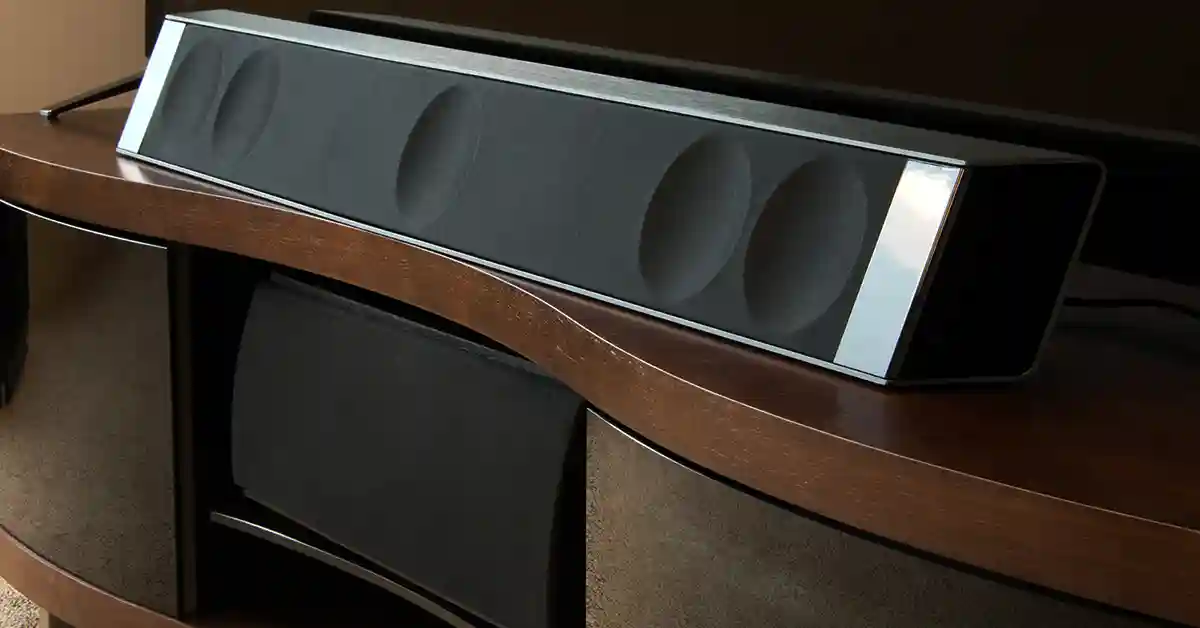
Remember that stereo speakers are passive speakers. This means that they need power to work, they don’t have a built-in amplifier like active speakers. An external amplifier is required for them to work. They may seem old and the aesthetics aren’t that pleasing.
The stereo speakers don’t have any flashing lights or fancy buttons to press but the physics of producing sound is the same as any of these newer generation speakers.
Yeah, you can go on eBay or Amazon and spend hundreds of thousands of dollars on a new speaker, pay a delivery man to deliver the speakers, pay other men to hook the speakers up and be set. You can also just use headphones.
Practical but not always reliable. These two methods are expensive and we’re moving into a time of convenience. Hook up these stereo speakers to your PC and enjoy hours of good music at your convenience.
How to Connect Stereo Speakers to PC
Before we move on to the steps on connecting stereo speakers to pc, we need a couple of things first. We need:
- An amplifier
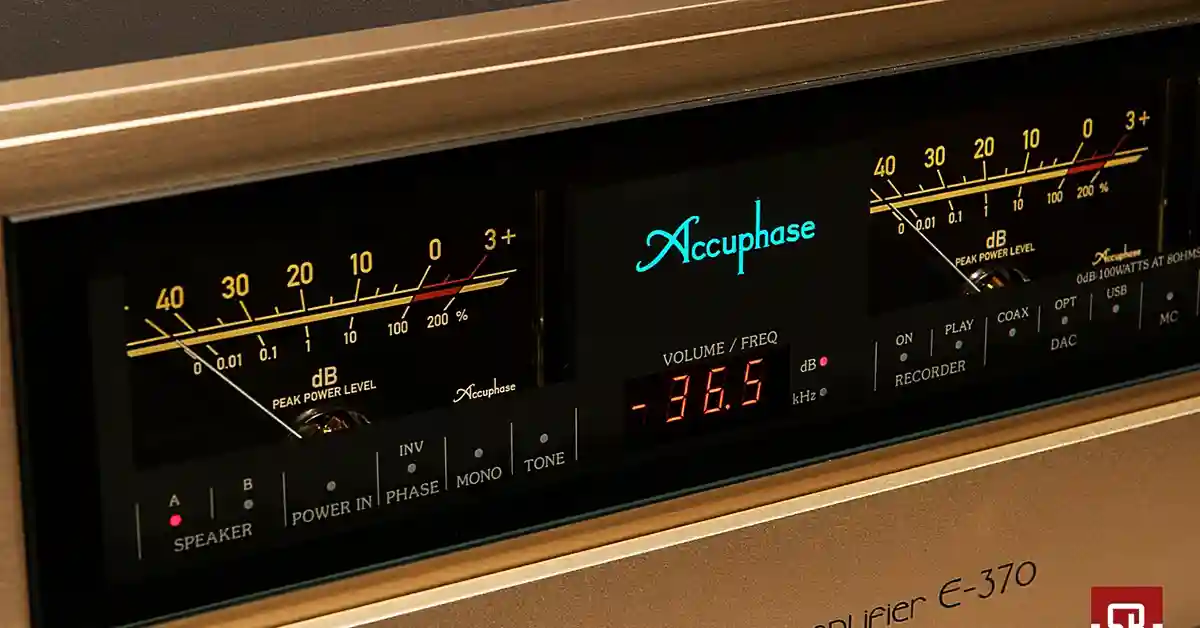
- Computers are not equipped with an amplifier sufficiently powerful to drive a pair of stereo speakers at any volume. This is where the need for an amplifier comes in handy.
- Auxiliary cables (AUX)
- A computer or laptop (obviously)
- RCA cable
- Speaker wire (just in case you don’t have speaker wire or the speaker wire on the stereo needs replacing)
- Male to male 3.5mm (⅛”) Stereo audio cable
These are needed to get started on connecting your bookshelf speakers to your PC. The desired place at which you’re looking to set up your sound system can be in your living room or maybe you’d like to keep it in the garage. The acoustics in a garage allows for a wonderful sound through these large speakers. Here are the steps on how to connect bookshelf speakers to PC.
Step 1: Inspecting Your Wires
Compare the quality of the speaker wire attached to the stereo. If there is any corrosion in the form of a green or brown color, strip that wire off or simply cut it. The new speaker wire can replace this old wire.
If the speaker wire ends have an RCA jack and the amplifier does not allow for RCA jacks, cut them off.
Step 2: Positive and Negative Wiring to Speaker
Attach the speakers to the amplifier with a speaker wire. You can locate your input and output terminal on the back of your amplifier.
Use the positive wire (the red wire is usually the red wire) to connect to the positive terminal and the negative wire (usually the black wire) to connect to the negative terminal. Press on the spring-loaded clips on the back of each speaker and the amp to expose holes for inserting the wires.
This is what your wiring should look like.
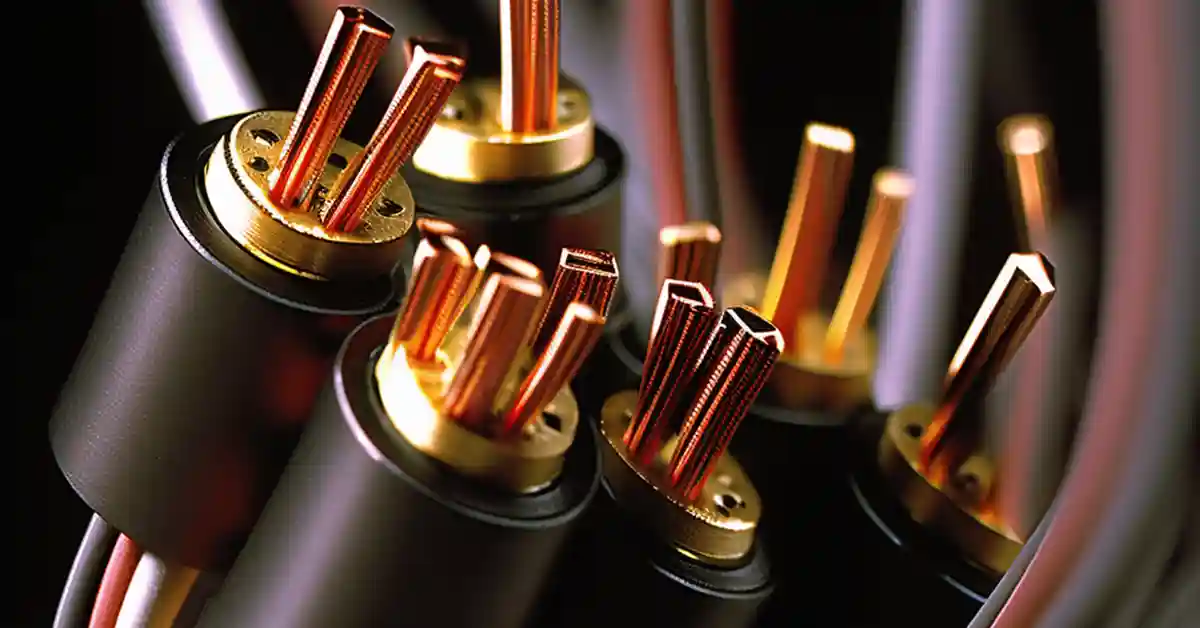
The wires are connected to the speaker and will be discussed further. The connection on the end of these wires could be banana clips, bare wire, flexible pins, or spade connectors. Check out our adjacent article regarding wiring a stereo speaker.
Step 3: Determine which Cable to use
Connect your RCA cable to a set of free audio input jacks to your amplifier. Before we move further, you need to identify which connection you’re going to use. Let’s stick to an Aux connection where you plug an auxiliary cable into your laptop or computer. Use the headphone input to plug in your auxiliary cable.
Remember to go from output to input. Output laptop to input amplifier. Output speaker to input amplifier.
Step 4: RCA Cable or Aux Cable
Connect the one end of your 3.5mm male to your computer or laptop. Use the aux input hole or the headset input hole as an entry point.
OR you can also use a 3.5mm male that’s connected with two RCA jacks.
Plug the 3.5mm male into the headphone or aux input. The computer can now transmit a digital signal to an analog signal. This signal can be heard through music or audio on the speakers.
We’ve got our computer or laptop connected with an auxiliary cable or RCA cable. Now we need to connect our laptop to the amplifier.
Step 5: Final Connections
With the RCA cables, you have two plugs that you need to connect to the amplifier. Probably a red and black or white jack. Plug the RCA cables into their respective colored outputs. Red with red and white with white, or black with black. You will locate your output holes at the back of your amplifier.
If you went with the aux cables, the other single cable goes into an output labeled, “MP3” or “Aux”. Different amplifiers have different names and symbols that they use to identify the output for your aux cable.
Now that your laptop is connected to your amplifier with either an aux cable or RCA cables, we need to look at connecting the speaker. Keep your amplifier off as well as your computer, this is just to erase the possibility of an electrical malfunction.
Step 6: Power to the Amplifier
Now let’s look into that speaker wire. You’re likely to have bare wire on hand that is coming from the speaker. Unclip the clip binding post on your amplifier to expose an insertion tab. Here is where you can insert your speaker wire. This will allow a connection from your amplifier to your stereo speakers. Notice that we kept the power plug out of a power socket. We want to avoid any electrical injuries.
Step 7: Test
Locate your power cable on the amplifier. Plug the power cable into a power socket to allow power to the amplifier and speakers. Once you switch your speaker on, switch your stereo speaker to the aux function. You can switch on your computer and amplifier to test out these fossils of a speaker.
Conclusion: Connecting Stereo Speakers
Stereo speakers are not magnetized in the same way as computer speakers. The old technology that was used doesn’t account for the heat and magnetization they may bring. This is why it’s better to keep your stereo speakers and laptop a few feet apart from each other.
Using stereo speakers sets a different tone in your house, it brings about a classy look with a distinguished touch. We all prefer the quick and easy convenience of headphones but let us share the music. Play some Sunday jams and relax with your family over a nice lunch. The stereo speakers can set the background mood and you can enjoy the music over a succulent piece of turkey.

Related Articles