How To Install A Subwoofer
So you’re looking to add power and bass to your sound system?
A little more than just the factory noises coming from your car or stereo. Let’s face it, the manufacturers of your sound system (in your car or home theatre) didn’t expect the fact that you would like a little extra volume from your speakers.
They anticipated that their customers would prefer a factory setting speaker and be content with that. Well, that extra sound could come from installing a subwoofer. There are many ways of doing this but let’s dive into one generic method on how to hook up a sub and amp.
How To Install A Subwoofer With A Built-In Amp
The majority of vehicles on the road are equipped with a series of wires connecting to the different speakers on each door. Find a suitable place to mount your sub as the built-in amplifier generates heat, a place with good ventilation is ideal.
Hooking up a subwoofer to your speakers is a DIY project fit for any day of the week. Some of the parts that you might need could be parts that you need to buy first. These parts include:
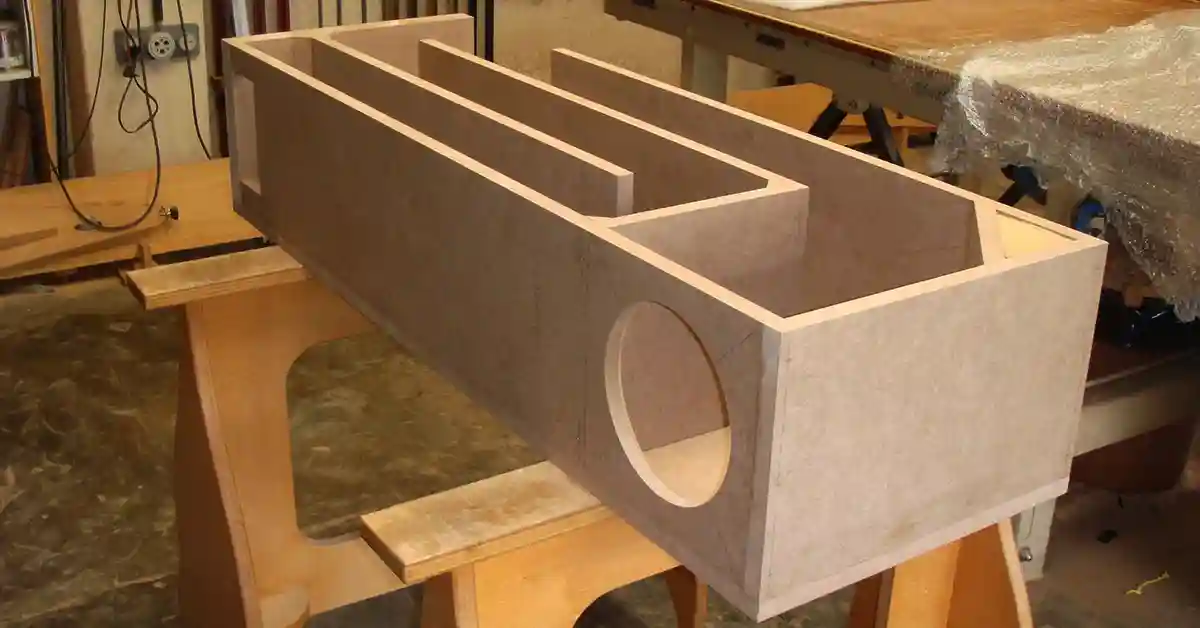
- A subwoofer box
- Subwoofer speaker
- Amplifier
- Wiring kit (Or the individual tools)
- 10 Gauge or thicker, 20 foot insulated wire (for power)
- 10 Gauge or thicker, 3 foot insulated wire (for ground)
- 16 Gauge 15-foot wire
- RCA cables, 15 feet or longer (one with red and white)
- In-line fuse, 50 amps or higher
- Maybe 1 foot of speaker wire
- 4 small wood screws
- Basic tools (hammer, nail removing, saw, etc)
Once all of your tools and materials are sorted out, you can set them on a workbench and start the process.
Step 1: Selecting an Amp and Speaker
This part is a little complicated. You want to choose a speaker and amp that compliment each other and produce the most power without blowing. Don’t look at the peak power when choosing speakers and amplifiers. The sound could be of high quality for about a minute but they overheat too quickly. You want to be looking at the RMS rating of your subwoofers rather than the peak rating.
For the best sound, make sure to match the impedance levels of the speaker and amp.
The speaker size is also an important factor. It doesn’t mean that a speaker is bigger, it will produce a louder sound. Smaller speakers with a higher wattage might be louder than a bigger speaker, but they could also lag in response time.
The bigger speakers can handle lower frequencies better though. Also, make sure to measure the speaker and the area that you’re going to place the speaker in beforehand. Before we get started with any wiring, turn off the car with the key at the ignition.
Step 2: Connecting the Wires
- Run the power from the battery. It’s important to draw power from the battery and not the fuse box(in the case of a car). The fuse box is unfiltered and you might hear engine noise through your speakers.
- Disconnect the battery terminal for safety reasons before installation.
- Run the power cable from the battery to the powered sub. If your wiring kit does not have the fuse kits assembled, cut a short piece of the power cable that is enough to cover the distance from the battery to the fuse.
- Strip the insulation off of the wire leading to the battery and crimp the terminal ring from your wiring kit on one end and attach the fuse holder to the other end.
- Strip the insulation of the wire that leads to your amp and attach it to the other end of the fuse holder.
Now you can start looking for an opening in the car’s firewall. This is the metal wall closest to the windshield of the car. Most of the wire can be fed through this firewall, leaving enough wire to the battery. If there are no openings, cut one with a sharp knife. Avoid cutting any preexisting wires.
The remaining wire can go under the carpet of the car or through a wire channel, making sure that there is enough slack for the cables to reach the sub.
Step 3: Wiring the Audio
We will be looking to run the turn-on wire and signal cables in this step.
Let’s start by positioning your stereo so that the cables can be connected easily. Both these wires need to be connected to your stereo. The turn-on wire would be the connection to a remote, controlling the amp. The remote wires would be labeled Remote, Rem, Amp, Amplifier, Power Antenna, Pwr.Ant, Antenna, or something similar to these. If you have a Power Antenna, you will have to splice the blue wire to use it for the amp. If you have two wires with one labeled Amp, you can use the blue wire. If it’s only one blue wire, use the blue wire.
You can also connect the 16-18 Gauge wire to the correct blue wire because when the stereo comes on, so will the amp. Your amp will always be on when your car is on, but it shouldn’t make any noise. If it does make an engine noise or any noise apart from actual audio, add a switch for you to turn it on and off.
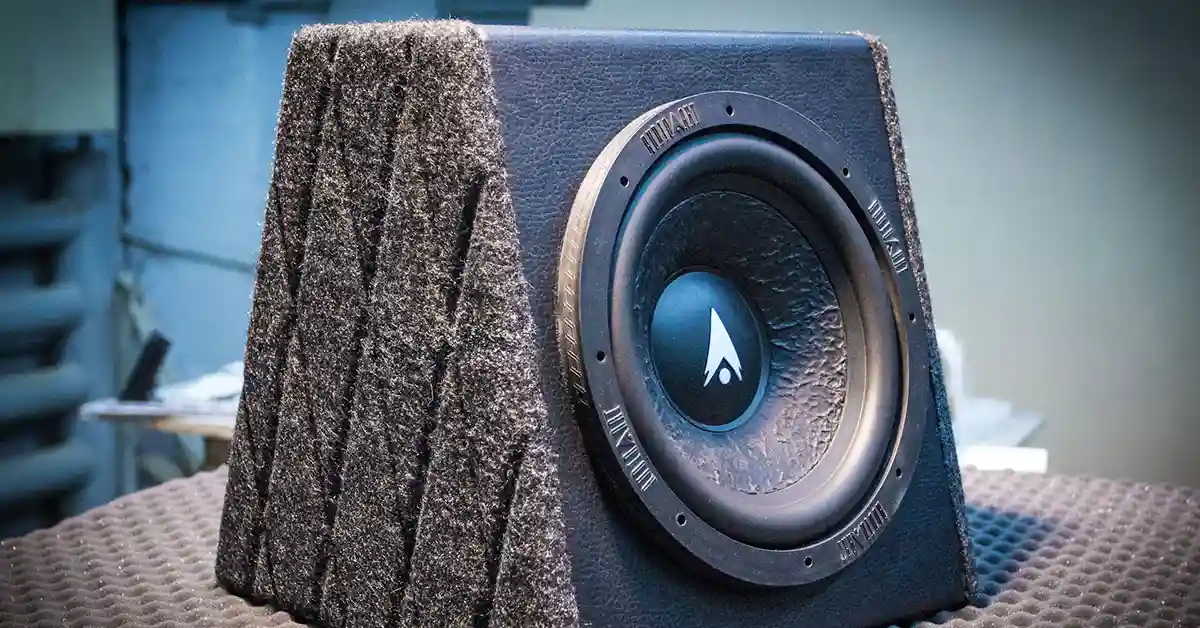
Step 4: Positioning the Speaker
You can have your speakers built into the covering of your boot like this one
You can also have them in the boot, fitted properly to allow boot space as well, like this
In this example, a more extravagant speaker setup is shown with the casing and covering of the speakers, custom made. Keep your speakers simple if you have to. A plain case to put your speakers in is more than enough.
Place your subwoofer in the trunk as well
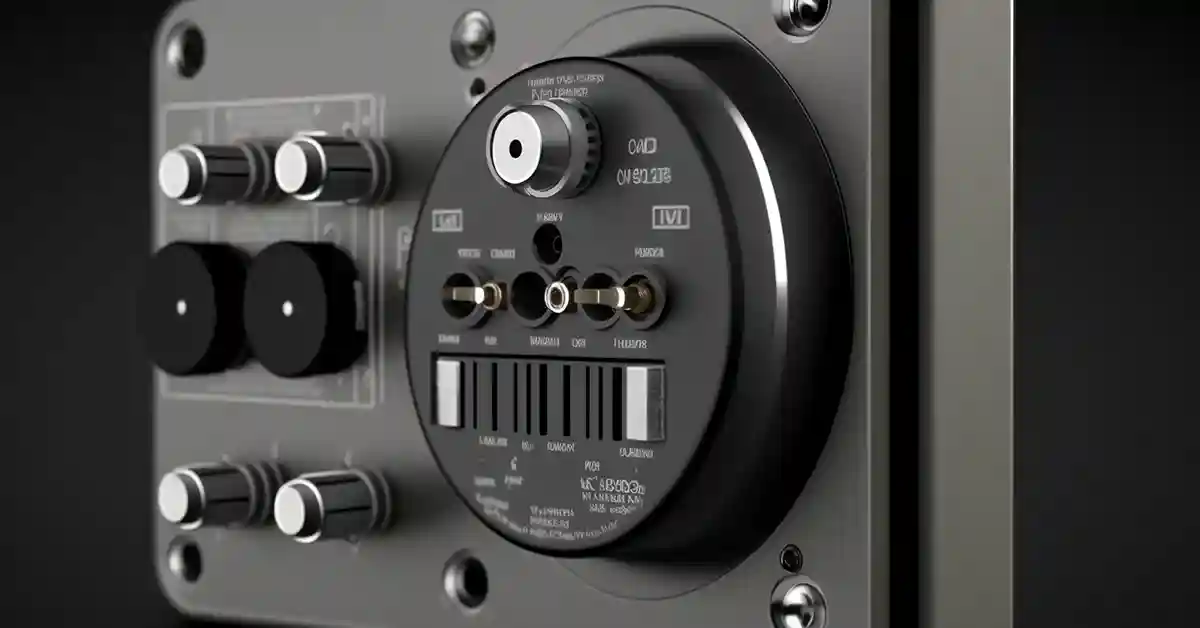
Step 5: Wiring the amp
Now that most of the wiring is done, the amplifier is the only component left.
- Connect the power cable from the battery into the positive output of the amp. It might have a B+, Batt, Pos, or even Pwr symbol on top of the output.
- Connect the 16-18 gauge wire into the spot that indicates Rem, Remote, or Ant. Connect the 3 foot, 10 gauge wire to the negative output.
- PLug the other end of the ground wire to an exposed bolt that connects to the body of the car, preferably a bolt that is easily accessible and can be pinned down. Remove any paint from the bolt to expose the bare metal.
- Connect the speaker wire to the positives and negatives of the speaker.
- Connect the other end of the speaker wire to the negatives and positives of the speaker box.
Step 6: Power to the system
You can go ahead and plug the power cable to your battery. This provides the entire system with enough power and the speakers are able to efficiently play audio. Push the wire between the battery clip and the post on the battery. Ensure a large fuse is in the fuse holder
Conclusion
There you go! A fun and easy way to install an amp and sub. Now you can let the music do its job. Turning up the volume and allowing maximum bass to flow through the speakers. Remember to keep the volume at a minimum high, you don’t want to blow your speakers.
With extra reference to installing a subwoofer, check out this video.


Related Articles