How To Repair Speakers
The day has finally come where you took the first step into the best decision your DIY projects have ever come across: researching on how to fix a speaker, more importantly, your speaker.
You dreaded the day that your speaker broke, procrastinated enough to finally tackle this task and now you’re looking at ways to repair your speaker.
The job seems massive because you don’t know what to fix first, you might not be sure what is broken, but you made sure to ask uncle Google and they brought you here!
Now it's time to relax because we’re about to go through a broad spectrum of repairs to fix your wonderful sound system.
How To Repair Sound System
Now before we get to use our tools and equipment, we need to locate the damage first. Placing your hammer, screwdriver, and a couple of nails on your workbench could be the start. Location and convenience help to provide efficiency.
With every DIY project, we need to find the problem before we can fix it.
Locating The Damage
Gently rub along the speaker cone and the outer rim to find any tears or holes in the material. Most tears come from cones made of paper. The rubber or Kevlar material tends to be a stronger fit for speakers. Playing your speakers at high volumes can cause these tears, be careful with how loud you continuously play your music.
Repairs to the cone are usually done by professionals to restore the cone to its full performance capacity. As a temporary fix, seal the tear by covering it with duct tape or velcro straps. To achieve the best possible results for your temporary fix, make sure that the holes are sealed properly and as tight as can be.
Check the back of the speaker’s cone where the wide face connects to the magnet and check along the edges of the reflective paper for any sign of a tear. A tear results in your speakers playing distorted and unclear audio. The quality of the sound decreases and a simple fix doesn’t restore your speakers to their maximum performance.
Sealing the tears or holes with duct tape can be a temporary hold on the speaker's performance and beneficial for the short term. To repair your speakers to their fully-functional state, contact a professional to handle the re-coning of your speakers.
Locate the speaker's large magnet at the back of the speaker. Two wires run between the terminal and the cones. Sometimes these wires are pulled loose when you move the speaker, causing a lot of breaks in the music and a static sound at times. You can repair these loose wires by soldering them back into place. Each wire connects to each terminal(usually designed as a metal tab) and the other end connects to the surface of the speaker cone. Make sure not to get a cold solder joint.
Testing The Speakers
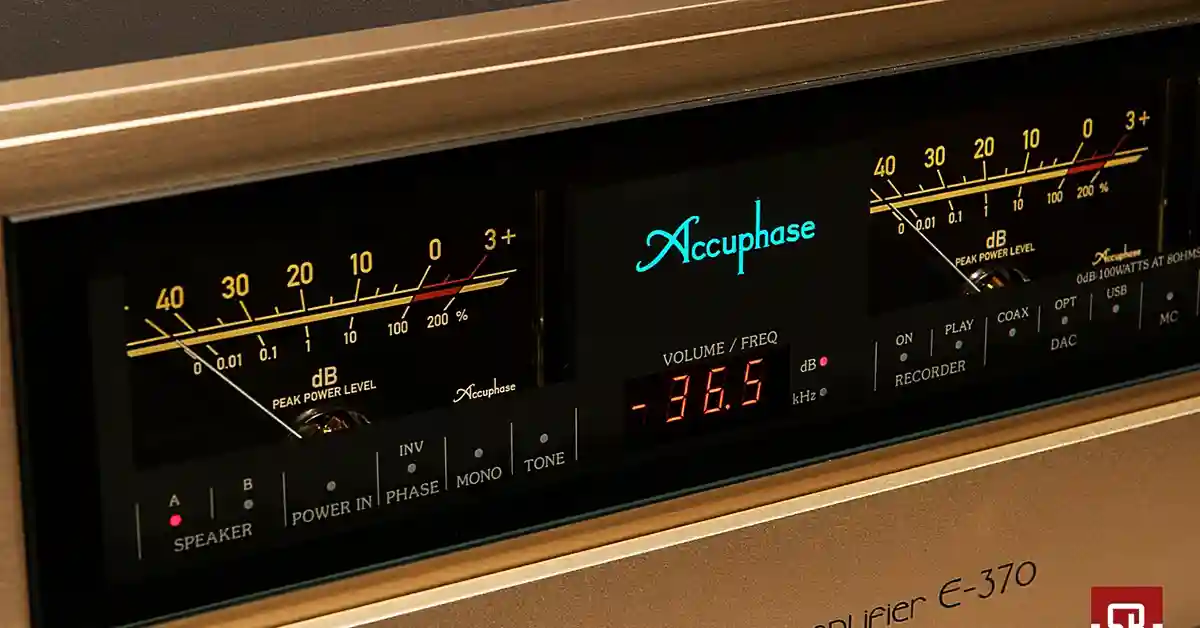
If the drivers are causing problems in your speakers, you’re going to want to test the system’s equalizer by playing music through your speakers:
- Increase the system’s treble settings to test the tweeters
- Increase the system’s mid settings to test the mid-range
- Increase the system’s bass settings to test the woofer
How To Fix A Speaker
Fixing a speaker is not as simple as replacing a few wires. How to fix speaker sound does not have a straightforward answer. A lot can be wrong or one simple factor can cause your speakers to malfunction. A blown speaker driver, broken voice coils or your speaker might just be out of phase. All of these problems could occur but not to worry, we’re about to tackle them right now!
Blown Speaker Drivers
As soon as you have figured out which driver is blown, it is wise to either replace the driver yourself or call up the professionals. The professionals might charge you an arm and a leg which is why it’s better to simply do it yourself.
- Remove the cloth section, covering the front of the speaker(the grill).
- Unscrew the old driver
- Unplug any wiring connected to the driver and make sure that the speaker is not connected to any power source.
- Detach the wiring from the driver
- Some of the wires will be soldered onto the driver and it may be difficult to detach them. In this situation, remove the old wires and replace the wiring with a newer clipped version
- There is a giant magnet at the back of the driver, make sure to hold on to the driver when detaching the wires because you don’t want to damage the magnet(and the speaker of course).
- Pick out a replacement driver
- It’s quite easy to get a replacement driver from the manufacturing company. Locate the speaker manual to find out some of your speaker basics like the model number, size of the driver, and the type of driver you would like to replace.
- If you can’t find the manual, do a quick Google search for these guides that contain all the necessary information needed to pick a suitable replacement.
- Once you have obtained your replacement driver, make sure that it fits perfectly in the hole and reattach it.
- Different models would have a clip that needs to be fastened and some would require soldering of wires to your driver.
- Reattach the corresponding wires and clips to each slot.
- Screw-in the driver and insert the grill.
How To Fix A Speaker With No Sound
Blown speakers can come from numerous problems but a speaker with no sound is a different case. We look into two scenarios.
In-And-Out Of Phase
Speakers work on unintentional electromagnetic interference. Speakers play on an in-phase level of sound which refers to the speakers producing sound through the same wavelength. This is referred to as constructive interference. When a frequency consists of two wavelengths on alternating patterns, they are referred to as “destructive interference”. These wavelengths are 180 degrees out of phase.
If the speakers are already playing the way that they are designed to play, this means that the system is in-phase and it does not need to be changed. If you have a system that was designed to have speakers facing each other and they are now facing the same direction, or you have speakers that are designed to face the same direction but are now facing each other, you need to phase them.
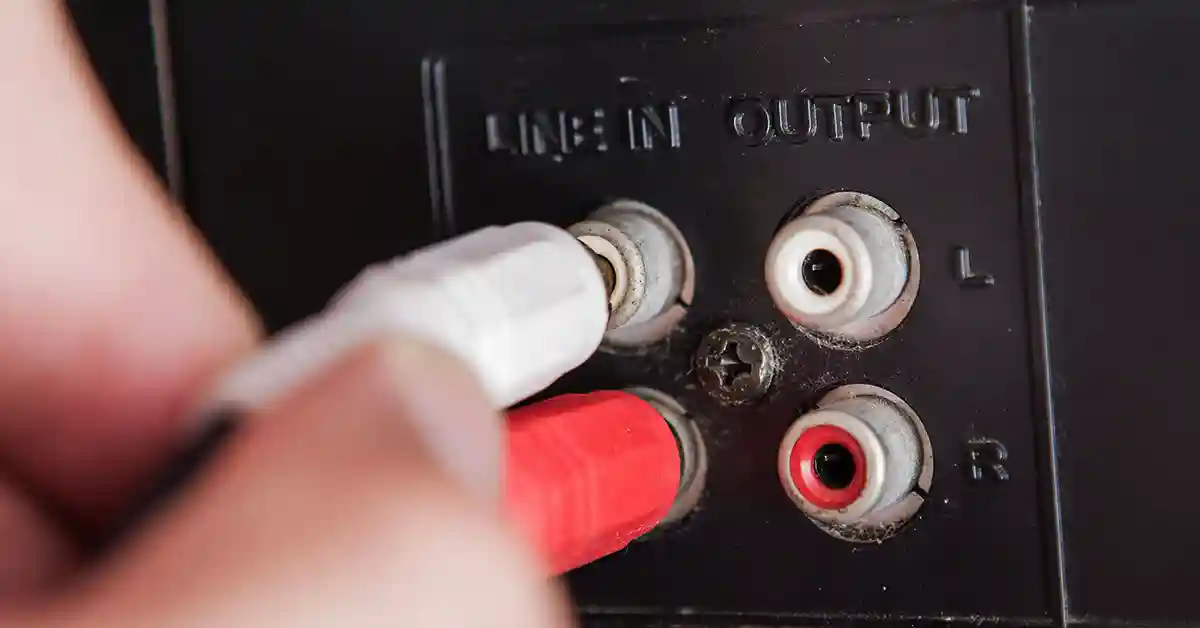
Reversing the phase of the speakers is our goal. On a normal speaker, the marked wires are always in the positive jack of both the speaker and the amp. When we’re trying to reverse the phase, the marked wire should be reserved on either the amp or the speaker. Do not reverse wires on both the amp and the speaker.
This is a basic method for reversing the polarity of a system. If the speaker normally produces sound in an outward vibration, it would now produce sound in an inward vibration, and vice versa. There are more advanced methods but we might not get into those in this article.
Test your speakers by playing music through them to identify any changes.
Broken Voice Coils
The voice coil is the main part of a functional speaker. The amplifier of the speaker sends electrical signals to the voice coil and these signals create a magnetic field in the coil. The movement that the signals create inside the magnet moves the diaphragm which then vibrates the air around it, creating sound. Damage to the voice coils could lead to a serious hiccup in sound in the speaker. The voice coils can be fried by constant loud volume, the diaphragm can be torn apart or the voice coil might not be centered, preventing a proper production of sound.
If the coil moves out of place, simply press on the speaker cone to feel if it moves freely. Do not push too hard on the cone. If it does not move, shine a light on the coil and check its positioning. Ensure that the connection wires are properly placed. Try pushing the speaker cone upwards without damaging the coils and the cone. If the cone and diaphragm can move freely, the issue will be resolved.
Looking at a damaged coil, a replacement is needed. A lot of time is required and here are some easy to do steps:
- Make sure that the replacement coil fits in the section where the old coil was.
- Use a knife or cutting blade to cut the gasket of the speaker.
- Remove the coil from underneath the diaphragm.
- Detach the coil from the wire connections where it has been soldered.
- Position the new coil and connect the spider assembly to the speaker.
- You’re going to want to connect the spider assembly and the coil.
- Solder the coil and spider package to the electrical connectors
- Use an adhesive like glue to attach the diaphragm back to the speaker.
Word of warning: All the provided information is to the benefit of you and your speaker system. Ensure safety at all times and if you don’t feel confident in some of the tasks, please contact a professional.
Conclusion
After another successful DIY afternoon with your lovely speakers, you have completed the repair job. You are now ready to listen to your favorite music. One last piece of advice for your broken speakers, if you do have the money, simply purchase a new one!
But don’t forget to stay tuned to our upcoming articles.
Related Articles