How To Build A Subwoofer Box
Building your own subwoofer box will require a hands-on approach. A premade subwoofer box could be expensive because you’re paying for the labor, parts, and overall build. The design could not be to your liking so why not do it by yourself?
It’s cheaper and if you have kids, it is a great Saturday activity for the entire family. Get them off their screens and show them what work looks like. Everything is so instant that people don’t enjoy the process. Well, with this article, we take you through some pros and cons of this build, the fun steps you should go through, materials needed, and an estimate on how long it will take. The precise time needed is up to you. It could take you the entire weekend if you’re looking to prolong the process or it could take you about an hour if you’re an everyday DIY man.
How To Build a Subwoofer Box To Specifications
It’s a no-brainer that subwoofers are expensive. Having them bounce around, getting scratched up in the trunk of your car is not the ideal situation. That’s why the enclosure is so important for a subwoofer, not only does it provide protection, it can also be an aesthetic feature to your vehicle. You can show it off to your buddies, or even impress some of your co-workers.
But looking at the main feature of a subwoofer, we need to take into account that it’s not only about looks, but about function as well. The bass and overall equal distribution of frequency is what makes the subwoofer unique. You need to design this subwoofer box to its strengths and allow clean, uninterrupted music to flow.
Why a Subwoofer Box?
Well, to put it in simple terms, it's cheap! It’s easy to make and with the correct design, it should be able to produce smooth music. The construction process can be easy for some but a lengthy process for others. It is easy to make but easy doesn’t always mean that it is quick
Some of the cons include the fact that you can only design the subwoofer box according to the size of your subwoofer. If it doesn’t fit in your truck, you can’t make the box smaller.
Specific crossover requirements from the amplifier need to be met for the subwoofer to produce the best results. There is a limit to the power that your subwoofer can handle and its output. With the technical pros and cons out of the way, it is recommended to perform any dangerous actions with care. Working with sharp objects can harm the user and we require them to wear the correct protective gear.
Now that we are ready and have taken the necessary safety protocol, let us begin!
Subwoofer Box Material
- Jigsaw
- Table saw or circular saw
- Electric drill (include drilling bits)
- ¾” Medium density fiberboard (MDF) or 10 by 5 feet of selected wood (get 9 pieces of wood just in case)
- 2-inch drywall screws
- Panhead sheet metal screws (half and quarter inch)
- Carpenter’s glue or adhesive
- Silicone caulk
- Speaker terminal cap
- Marker
- Notepad
- Pencil
- Measuring tape and ruler
The cost of these materials will vary on occasion. It depends on the store you’re buying from and what materials you have laying around in the house or your workshop.
How To Build a Sealed Subwoofer Box
This project seems massive but it is just one activity after the next. Let us start with smaller tasks and work our way up to accomplishing the goal.
Planning
The first step to any DIY project is planning. This is the most important, that is why we do it first and we do it properly. Failing to plan is planning to fail, wise words to live by.
So, let’s think about this, what needs to be planned first? Well, you need to choose your subwoofer. Base your choice off of the space you have in your trunk (if you’re placing your subwoofer in the back of your car) or the space you have available for the subwoofer. The box will enclose the subwoofer which means that the design of the box needs to be written down. This is a subjective activity that requires the builder to make the decision.
Once you’ve got your subwoofer and design, draw some rough sketches of what you want the process to be. You need to be in the process mentally before physically starting anything.
Measurements
- Determine the minimum depth of your subwoofer and add 2 inches. This will give you a rough estimate of the depth your box needs to be.
- Determine the minimum height and width of your box. Measure your subwoofer vertically and horizontally to determine the minimum size of your box. Sometimes a mounting template is included in the subwoofer manual with all the dimensions of your subwoofer.
Jot down the minimum depth, height, and width of your subwoofer in a sketch of your box. If you’re building a box for the trunk of your car, you may have to account for the wedge shape. This is a slant in the box that fits better in your car.
The above measurements were for the external dimensions of your subwoofer box. Let’s look at the internal measurements
- Determine the internal measurements of your subwoofer box. This will be decided by the type of wood or MDF you’re using.
- Sketch your measurements on the MDF or wood that you will be using for the external structure. It’s always a good idea to mark where you’re going to cut before cutting.
Cutting
- Your level of comfortability and accessibility with the saw is what determines which type of saw you’re going to use. The table saw is excellent for straight cuts. The circular saw is excellent for more free-hand craftsmanship. It's up to you to decide which to use.
OR you can have your cut pre-cut for a small fee at your local hardware store.
- You should have 6 sides available for usage: back, two sides, top and front. Make sure to label these sides accordingly. If you are installing your subwoofer into your vehicle, there would be additional sides cut out for the slant.
Drilling And Marking
- Use the speaker template or a compass to outline the speaker's circular shape.
- Drill straight pilot holes near the inside edge of the circle. Drill enough holes for the outside screws of the speaker cone.
- You need to outline a rectangular hole at the back panel for the terminals. Use the same drilling process for the screws.
Circle
Cutting out the circle has to be the hardest part of the build. Not only do you want it in the center of your square, but you also want the speaker equidistant to the edges.
- Measure across the wood, corner to corner to find the center. Where the two lines cross, that hole will be your center.
- Drill a hole in that center.
- You’re going to have to use a jigsaw for this step. Cut out the circle. It’s a good idea to have the board clamped down or a buddy holding the board in position.
- Run a bead of silicone caulk around the edges of the cutouts.
Screws
We’ve got our boards of wood or MDF cut out and in shape. The circle cut-out is in place and ready for assembly. We’re only missing a small detail, which would be the screw holes.
- Measure about three-quarters of an inch from the edge of your board horizontally and vertically.
- Mark those spots on all four corners of the boards of wood. You’re going to use the top and bottom boards for these spots.
- Using your drill, get a smaller drill bit to drill the holes for your 2-inch drywall screws. You don’t want to immediately drill a 2-inch hole.
- Get your 2-inch drywall screws and place them into the different holes to check if they fit.
Assembly
With the holes drilled for the screws, it’ll be easier to place and assemble the structure beforehand.
- Line the boards so that the top is balancing on the sideboards, and the back and front board.
- Start the assembly process by gathering your screws.
- Drill the screws in to link the boards up. The boards are marked and ready to assemble so it won’t be much of a hassle.
- The initial drill will be tough as the holes are too small, but power through to assemble the structure.
- Use the carpenter’s glue or adhesive along the edges of the inner boards. This is a safety measure to ensure a stiff, solid structure.
- Wait for the glue to dry before moving forward.
Carpeting
This is a completely voluntary step. Carpeting your subwoofer box is not a necessity but it does give the box a pleasing look and feel. The edges wouldn’t be as rough and you can avoid any splinters in the future.
If you're looking for more information on how to do this, simply check out this YouTube video, or this one.
Install
The final step is to insert your subwoofer with the respective terminals. The wiring and so forth will be handled when you’re hooking up your subwoofer. With the assembly done, you just saved yourself a whole lot of cash! A DIY project that can turn your $20 trunk into a $100 nightclub is officially yours.
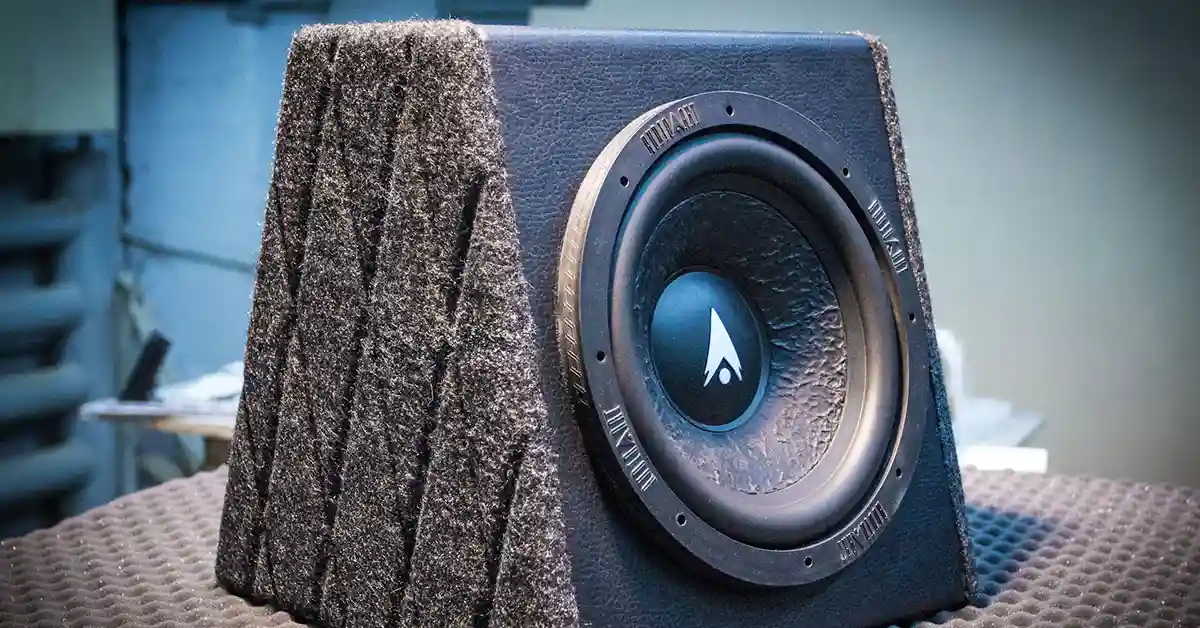
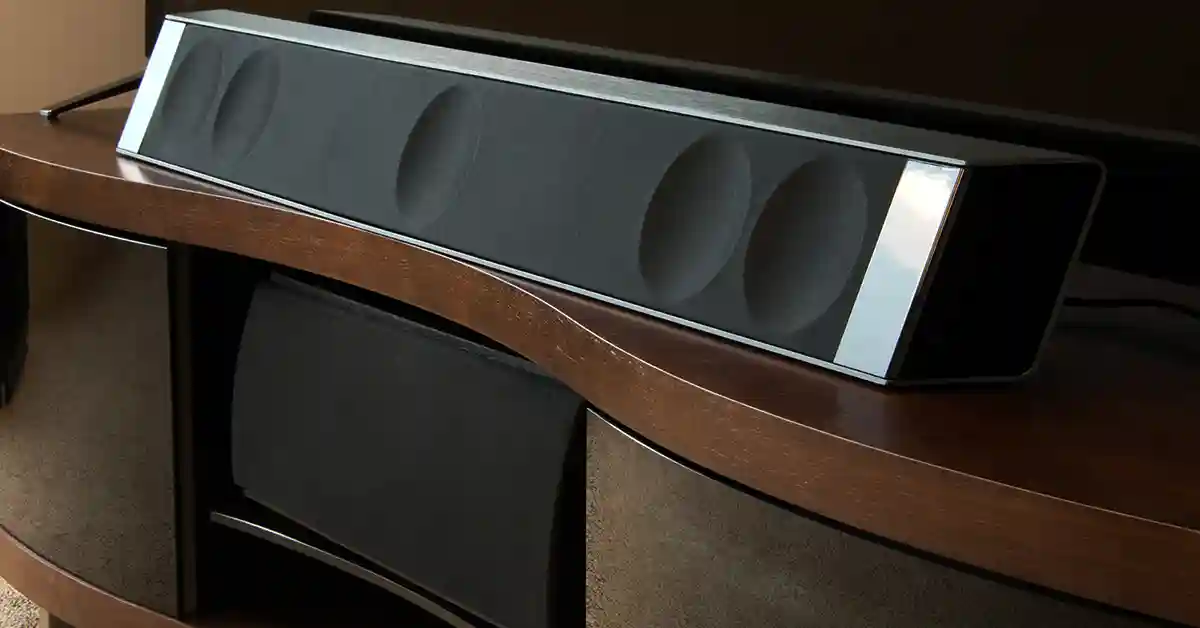
On the left is an image of a subwoofer box with a wire on the top. All the screws are in place mounted well and sturdy. No carpeting took place but it is an option. Try adding neon lights to the edges for a different glow!
Conclusion
Now that you’ve completed your subwoofer box, the placement is entirely up to you. In the trunk of your car or even as a coffee table, the options are in your hands. If you feel confident in your build, send us some pictures or leave a comment. We’d like to see how the hard work paid off.

Related Articles