How To Connect Powered Speakers To Mixer
Connecting powered speakers to a mixer is a great way to maximize the audio power output from your system. However, seeing all the different ports, plugs, and cables on the mixer can be intimidating.
Even more so, when you have little to no experience working with this equipment, one wrong move can sometimes break either your speaker or mixer.
Fortunately for you, we've created a simple guideline to help you. By the end of this article, you will know how to connect powered speakers to mixers as well as so much more.
Powered Speakers
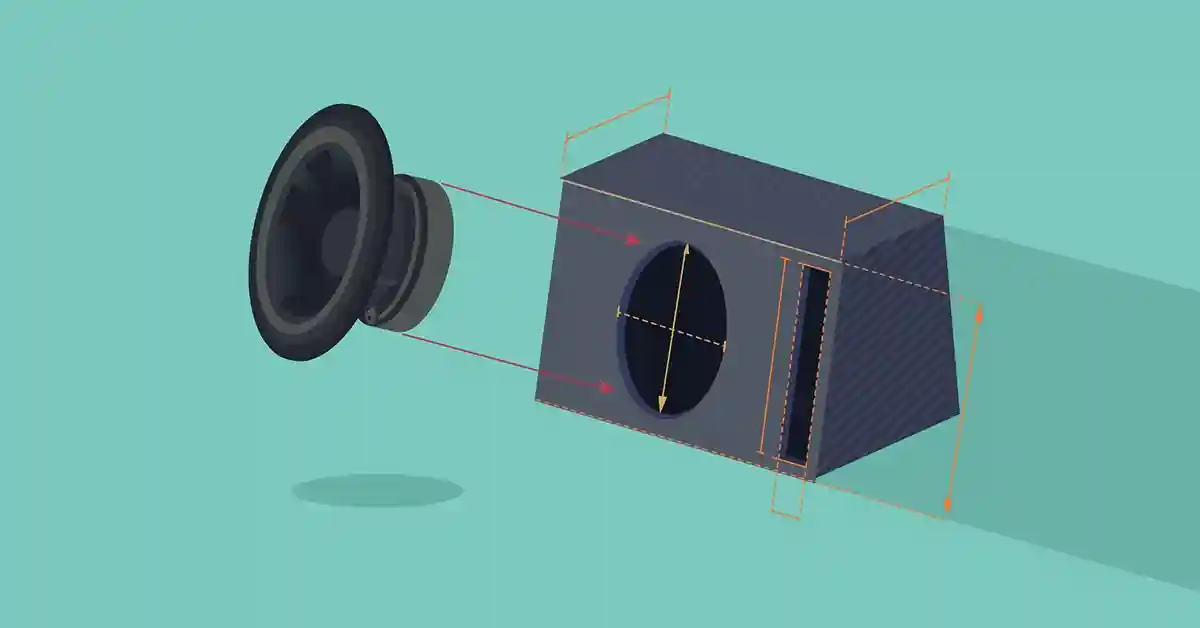
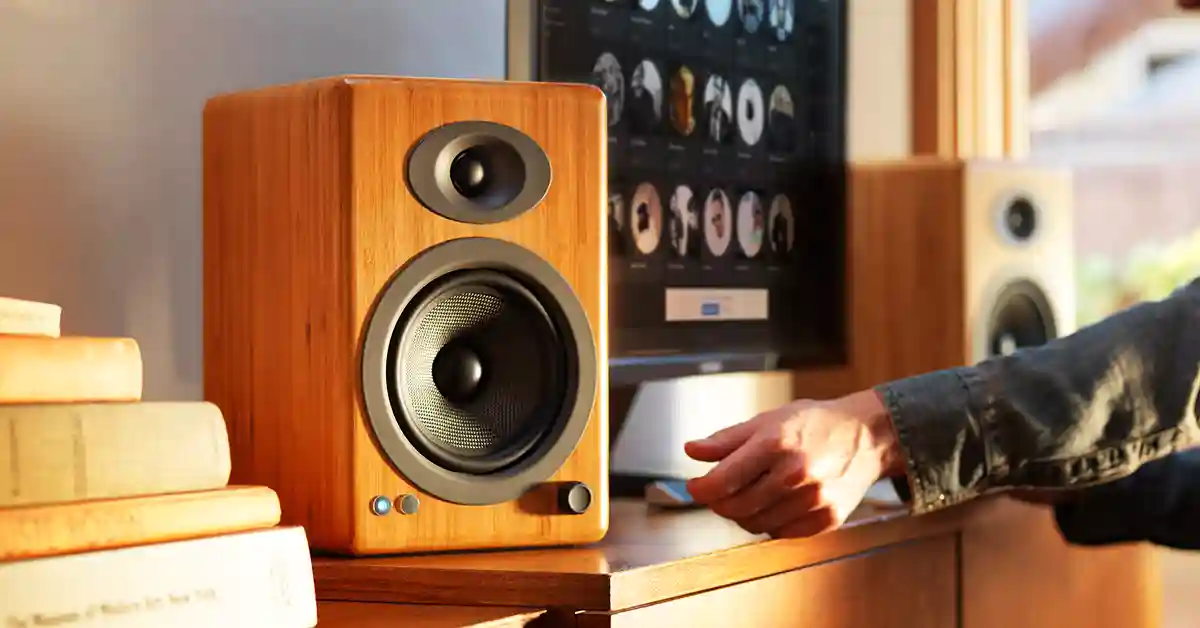
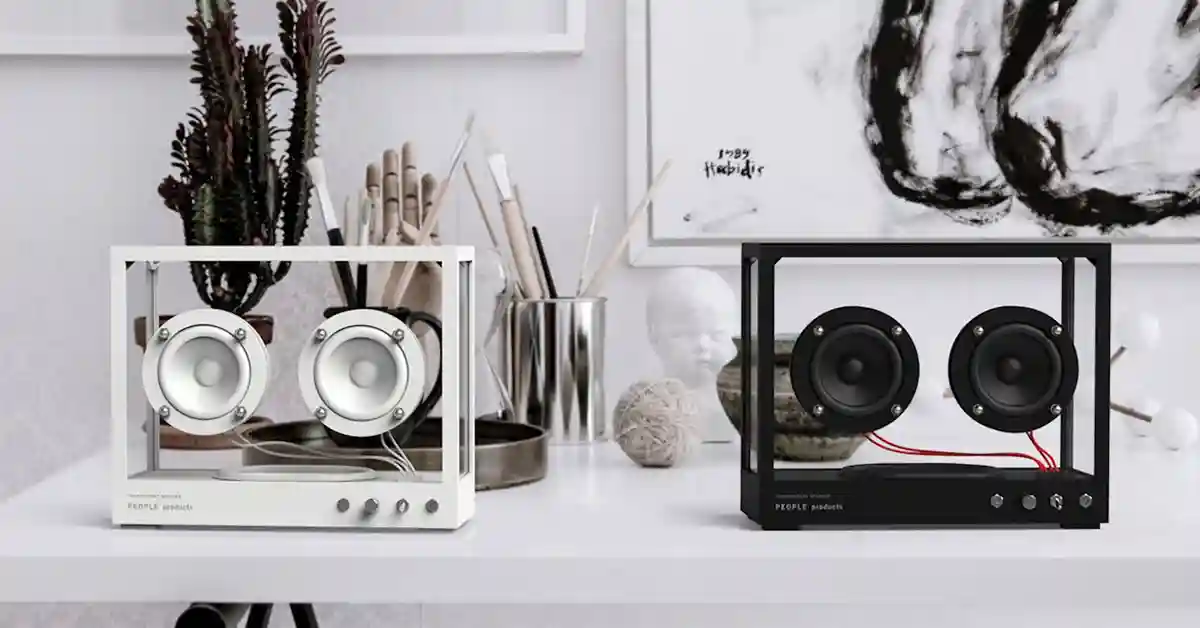
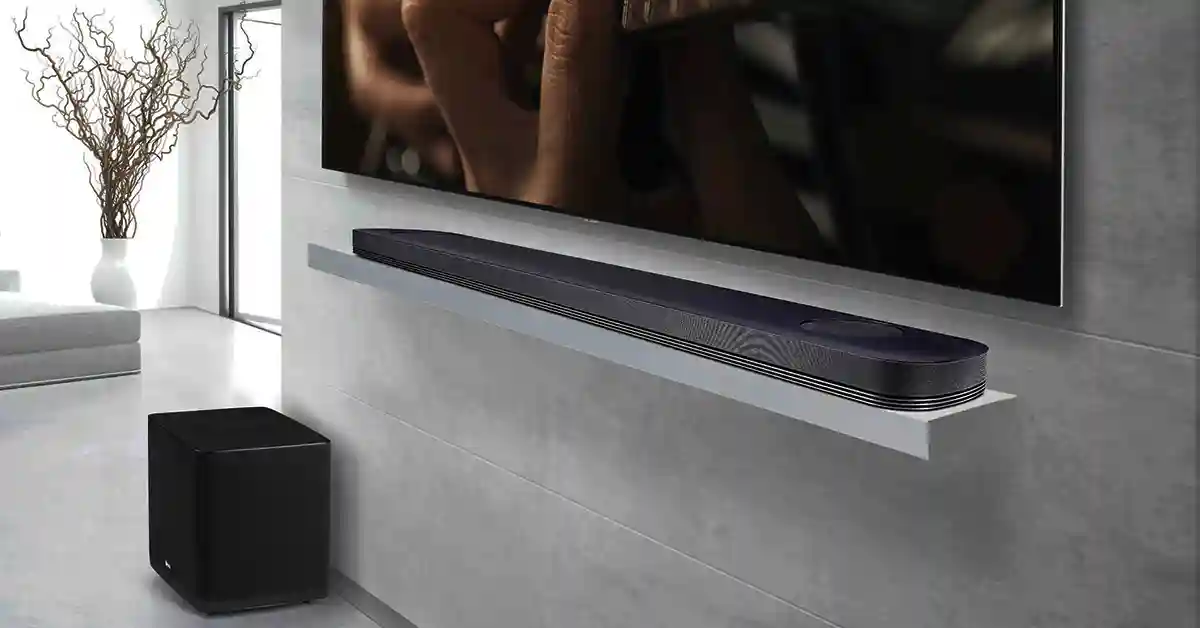
A powered speaker (also known as an active or self-powered speaker ) is simply a unit where the speaker and amplifier are housed in the same cabinet. It often includes other accessories such as crossovers and subwoofers. This eliminates the need for separate amplifiers, external crossovers, heavy speaker wires, and their associated costs.
The main difference between active and passive speakers is that the former has amps, subwoofers, and built-in crossovers, while the former does not.
With powered speakers, the amp is usually matched with the speakers to create more optimized sound.
You have likely seen these speakers in concerts, clubs, or parties. They can also be used as computer speakers or as part of a hi-fi audio system at home.
Advantages Of Powered Speakers
- They use less power and can be used for heavy-duty production in a considerable time frame without running out of power.
- They are easy to use.
- They connect directly to source components such as your DJ controller, effects processors, guitars, keyboards, drum sets, and other musical units.
- Powered speakers are relatively cheaper, making them a perfect choice for almost everyone.
- Powered speakers are safer because they likely Won't burn your mixers quickly.
- They produce better sound quality.
- Mixers help improve the quality of audio signals and dynamic range.
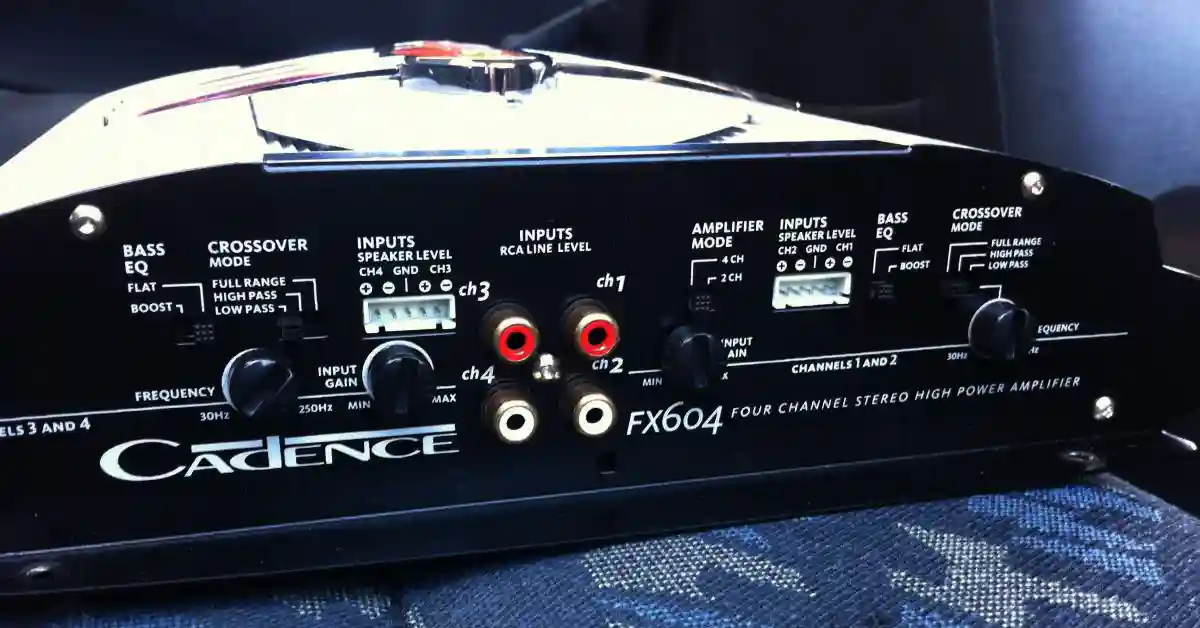
The Mixer
Audio mixers are the main component of a Personal Address (PA) system. The purpose of a mixer is to help you combine different audio signals. Mixers allow you to produce and record sound. They allow you to adjust the bass, mid-range, and treble to help deliver high-quality sound. People often use Mixers in recording studios, concerts, and film/television productions.
The Other Functions of a Mixer Include:
- Changing the tone quality of the sound.
- Countrolling, the loudness of the speaker.
- Changing the audio timbre and dynamics
Types Of Mixers
There are three main types of mixers currently in the market.
Analog Mixers
Analog Mixers use analog circuitry to change the volume and tone of audio signals. They also add warmth and character to the audio.
This kind of mixer has a relatively standard appearance. Each control on the control panel performs one function, and they're all visible and easy to use. They're ideal for first-time audio mixer users.
Analog Mixers are perfect for either live sound or recording. They usually cost less than digital mixers, but they don't have the automation you need for complex shows or recordings. They also have fewer audio effects than digital mixers, and you'll likely need to buy extra equipment to get more advanced effects.
Digital Mixers
Digital mixers use a digital signal processing technology to manipulate audio signals. They're more advanced than analog mixers and have a wider variety of control functions. They are also compact and portable.
Digital mixers allow you to pre-program, save, and recall setups. Most of them come with wireless connectivity, which lets you connect it to an iPad or smartphone and use it as a remote control. This gives you freedom of movement because you don't necessarily have to stay in the same place while mixing, unlike using an analog mixer.
By using digital mixers, you'll have more onboard sound effects on every channel. This means you won't have to buy additional audio equipment to get better sound effects and advanced signal processing features. Usually, manufacturers allow you to download updates directly from them if you need to.
Digital mixers can be challenging to use for beginners because you'll need to look through several menu options before you can make any changes in a specific channel. And if you want to make more than one change at a go, you'll have to pre-program the changes for faster access. They're also quite costly.
Powered Mixers
Powered mixers have built-in amplifiers and can mix both analog and digital audio signals. In some cases, you can use a powered mixer. These mixers usually have two amp channels that you can plug in with two speakers or one speaker and one monitor.
Powered mixers are easy to set up and use. They're pretty compact and portable. These mixers also have line-level outputs allowing you to add more powered speakers and monitors easily.
If one part of a powered mixer fails, you'll likely need to replace the entire unit. They also have limited features and output power.
The Parts Of A Mixing Board
Channels
The channel is the basic unit of the mixer. They are the signal paths. The number of input channels indicates the number of sources you have. Channels can seem complicated at first, but if you understand how one channel works, then you basically understand how the whole mixer works.
Inputs
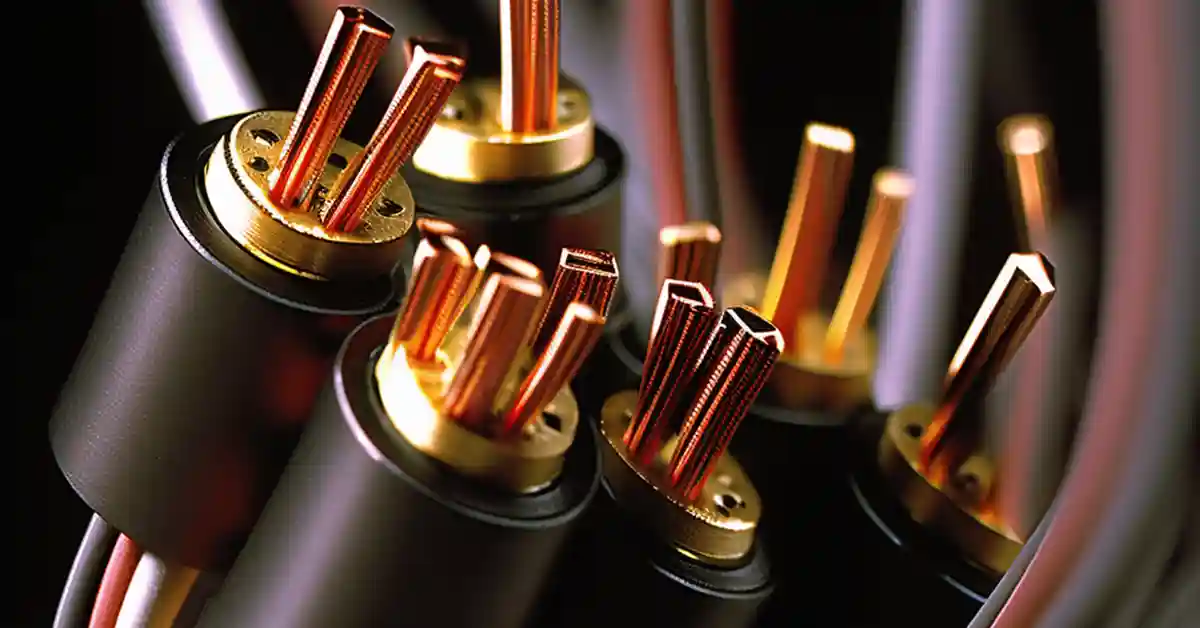
These are the connections that receive external signals to route them to the different sections of the mixer. Inputs range from line-level signals such as those that come from a piano/keyboard or a microphone. There are different types of input connections, but the most common ones are the ¼" Jack input for line signals and an XLR connection for microphones.
¼" Jack
This type of connector is also known as a phone jack plug. Nowadays, a ¼" Jack is used to carry analog signals. There are two types: the balanced TRS (Tip, Ring, Sleeve) connector and the unbalanced TS (Tip Sleeve) connector.
XLR
XLR stands for External Line Return. It is a type of connector people mainly use for professional audio connections. XLR connectors are balanced connections which means they cancel out noise. They send the same signal on two wires, the positive (red) and negative (black), but with their polarities reversed. When the signal reaches the other side, its polarity changes again, which cancels out any noise.
Inserts
An "Insert" connection allows a piece of equipment to be plugged in directly after the input. You do this to ensure the signal is unaffected by any other processes further down the channel. People use Inserts to connect a compressor or gate.
Gain
A “Gain” refers to the loudness of sound. A gain knob controls the input level of each individual channel. It helps ensure that individual sound sources don't cause the channel to overload or distort.
Low-Frequency Cut
This type of switch is mainly located above or below the gain knob. A Low-Cut Filter removes low frequencies between 20 Hz and 150 Hz from the audio signal. This helps saturate the channel when the input signal is bass-heavy.
Equalization
Equalizers allow you to adjust the flexibility and precision of sound frequencies. In other words, equalization is the process of changing the timbre of a sound signal. Most audio mixers have three equalization bands, high, mid, and low. Some have more bands while others have fewer.
Aux
You can use the Auxiliary for various things. It sends a secondary feed of audio signals to another destination. An auxiliary helps adjust the level of a channel signal sent to the auxiliary send output. "Aux Send" connects monitors on stage and creates a separate mix called the monitor mix so that the people performing can hear themselves on stage.
Pan
Pan is short for panorama. It is used to increase or decrease the level of the left and right audio signals.
- If you turn the Pan control knob to the left, you will only hear the audio signal from the left speaker.
- If you turn it to the right, you will only hear the audio from the right speaker.
- If you leave it in the center, then you will be able to hear both speakers.
Mute
Everyone has encountered this control at one point or another, and you likely know what it does. In not-so-technical terms, a mute button disables a track's audio.
Channel Fader
A fader adjusts the audible signal from the channel.
Master Faders
A Master Fader controls the overall volume of all of the main outputs.
Master Outputs
This is where everything comes out to be amplified and then connected to the main loudspeakers. In the Master Output, all of the sources connected are adjusted and equalized.
The Aux Bus
This is the circuit responsible for sending audio signals to other devices.
The Step-By-Step Guide On How To Connect Powered Speakers To Mixers
Now that you know what the different parts of a mixer are and what they do, here’s what you’ll need:
- Powered Speakers
- Mixing Console
- Speaker Wires
- Source Components (laptop, cellphone, CD-DVD, etc.)
Step 1: Understand How Your Mixer Should Be Connected
A wired connection is either balanced or unbalanced, and knowing which of the two your system uses is crucial.
A Balanced connection is less susceptible to induce noise and therefore can be used for long wired connection without disrupting your audio signal.
An Unbalanced connection is perfect for short-distance connections since they're more susceptible to induced noise.
Step 2: Position Your Equipment
Before you can connect your equipment, you need to ensure that you've appropriately positioned it.
Position your powered speaker in front of the audience to help achieve maximum audio amplification. Ensure that the speaker is also in front of all the microphones to avoid interference with audio signals.
Position the mixer behind the powered speaker. Make sure that they don't touch each other.
Step 3: Check Your Equipment
To know whether or not your mixer and speakers are working correctly, you need to check them first.
Check the mixer and make sure that all of the buttons are down. Then turn on the power button to make sure that all of the buttons on the mixing board are working correctly.
Turn off the power button and follow the same process to check your powered speakers.
Step 4: Lay Out Speaker Wires
The speaker wires connect speakers to other sources. It's best to keep the cables short to prevent any interference or accidents that may occur. To do this, you need to coil any access wires at the bottom of the speaker stand.
Step 5: Connect The Speakers To Mixer
Before making any connections:
- Make sure that both the speaker and the mixer are off.
- Connect the speaker(s) to the stereo output of the mixer.
- Make sure that all of the wires are correctly connected, then turn them both on.
Step 6: Connect The Mixer To The Source Components
Source components such as laptops, phones, or even CD-DVD players are essential for an audio system. The quality of sound produced by the source components' audio output will determine the overall ability of your stereo system.
- First, plug one end of the cable into the headphone jack of your device.
- Then, plug the other end into the "Line-In" port of the mixer.
- Now, play any music on your device. You should be able to hear audio.
Step 7: Set The Buttons To Minimum
In this step, you'll need to put the Master Volume Button, Fader, and Gain to minimum levels. This helps prevent any unexpected sound. When using your phone as the source, put it on airplane mode to avoid interference.
Step 8: Adjust The Sound Output
Now, use the equalizer button to adjust the volume, treble, and bass. Some mixers have a separate equalizer button for each channel, while others have a global equalizer button that controls the entire mixer.
How to Connect Multiple Powered Speakers to a Mixer
In some cases, you may need to connect more than one powered speaker to a mixer. A good example would be when you're at a large event and need to cover more area so that the entire audience can hear you.
The easiest way to connect powered speakers to a mixer is using the daisy chain option.
Connecting Multiple Powered Speakers Using The Daisy Chain Option
Step-by-step guide for connecting multiple speakers:
- As we did in the previous section, the first thing you need to do when connecting multiple speakers is to ensure that you've positioned them correctly. In addition to this, you'll also need to set up the monitors you want to daisy chain.
- Ensure that every button is down/off before beginning the setup.
- On your main speakers, run the wires from the "Main Output" of the mixer to them.
- By now, you should have the "Left" and "Right" speakers connected to the mixer.
- Run a wire from the "Thru" connector to the "input" of the next speaker on the left-side chain.
- On your "Right" speaker, run a wire from the "Thru" connector to the input of the next speaker on the right-side chain.
- Repeat steps 5 and 6 for the number of speakers you want to have on either side. You can do this on multiple speakers as long as your cables are not too long to avoid getting a "Hum" noise.
- Set the Volume knob of each to the "exact" same level. Use the equalizer to ensure that each speaker's EQ is the same level on all speakers to avoid unbalanced tones.
- Turn the power on and play some music to make sure that everything is working correctly.
How Many Speakers Can You Daisy Chain Together?
You can connect as many powered speakers as you want using this method.
Conclusion: Connecting Powered Speakers To A Mixer
By now, you know what powered speakers are and their advantages. You also know what a mixer is and the different types of mixers that exist.
You know the different parts of a mixing board and their uses.
You know the precise steps you need to follow to help you connect powered speakers mixers. You also know which method to use when connecting multiple powered speakers to a mixer.
All you need to do is follow these simple instructions and do it by yourself!

Related Articles