How To Fix A Blown Speaker
You're about to start pumping your favourite songs when you first notice it. There’s a sound coming from your set up that just doesn’t sound quite right.
It’s a fuzz, a buzz - a slight distortion. It’s finally happened, your speakers have blown.
You immediately go into a spin: can you fix them yourself? How much will it cost to replace them? Will you be able to replace just the one, or will you have to get a whole new set of speakers?
But, don’t worry. Blown speakers are not that much of a big deal. With this helpful guide, you’ll discover exactly what you’ll need to fix your blown speakers quickly and easily so that you can go back to listening to your favorite tunes in peace.
How Do I Know If My Speakers are Blown?
Your speakers can blow for a number of reasons, with a range of signs that go along with them. However, what are those? Let’s dive into some of these signs below.
What Do Blown Speakers Sound Like?
It can be difficult to ‘hear’ if your speaker is partially or completely blown, but if you do have a feeling that they are blown - the below signals will be able to help you identify a problem:
- Sound distortion: Fuzzy, hissing and distortion is arguably the most common sound signifying your speaker is partially broken.
- No sound at all: If there is no sound coming from your speaker, or you have quiet speakers, it could also mean that it’s blown.
- Lack of bass and treble: Blown speakers have bad quality, lack of bass and treble, and mid-tones.
- Improper movement or vibration: Blown speakers usually have damaged components, and as a result do not move in a normal vibrational pattern.
- Audio clipping: Audio clipping is when the speaker cannot create the sound being sent to it, and sounds like the sound is flat lining.
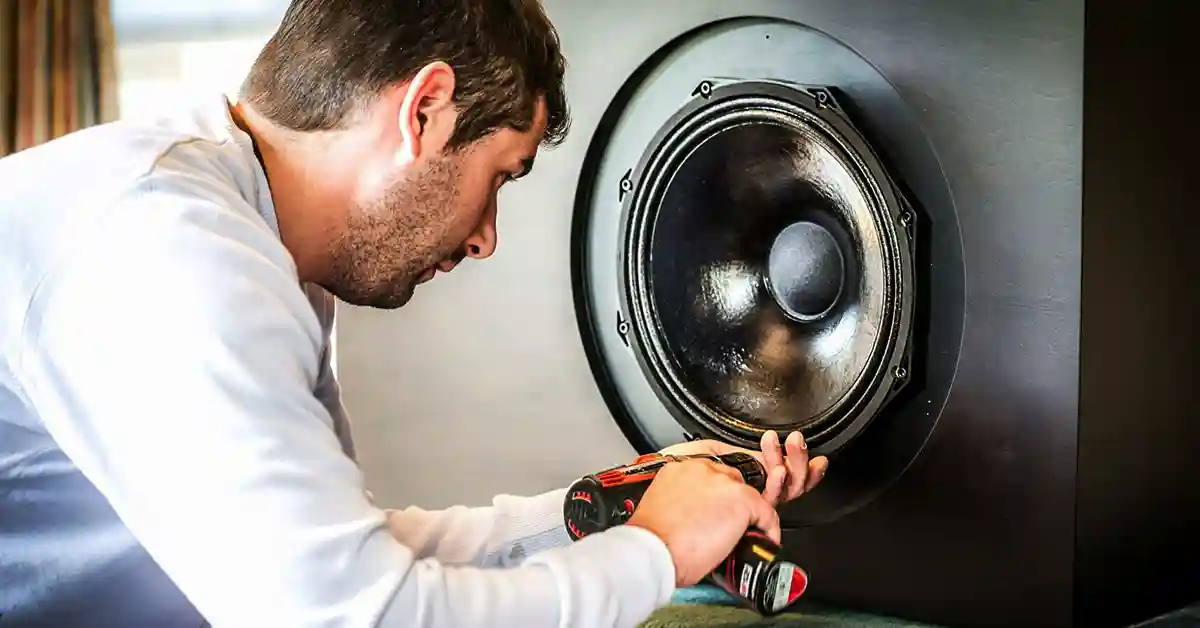
What Do Blown Spears Look Like?
Blown speakers can’t always be easy to identify, because sometimes the problem can be confined to an internal component - or, the speaker is covered by a casing.

However, blown speakers can have obvious visual cues. Let’s take a look below to see what those might be.
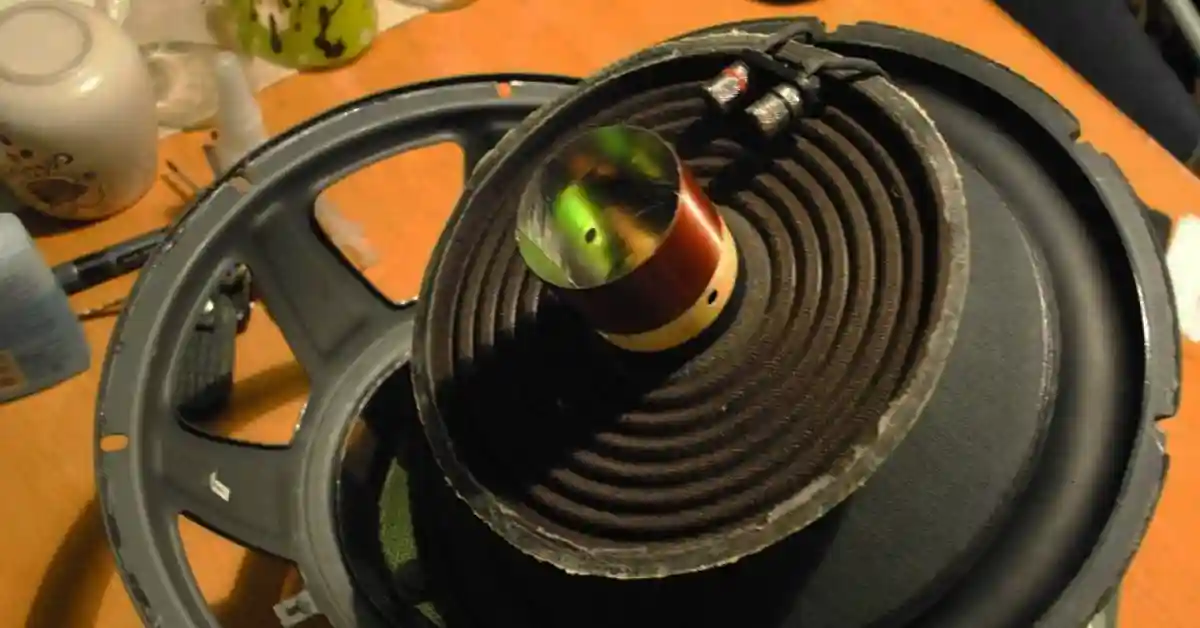
If the speaker does not have a casing, you’ll be able to easily see the speaker. Then these are signs to look out for to have a better idea of what blown speakers look like:
- Damage to the cone (or diaphragm) in the form of holes, rips or tears.
- Damage to the dust cap, the small round dome that sits at the center of the speaker.
- Deterioration or damage to the speaker driver or ring that sits on the outside of the speaker.
How To Fix A Blown Speaker
Now that you’ve identified that your speaker is indeed broken, you’ll want to know what can be done to fix it.
It can be quite a task to repair blown speakers, depending on the extent of damage to them. If you have an expensive, high quality set of speakers that are broken it is best to let professionals repair the blown speakers, or possibly reinstall new ones.
If you own a pair of cheaper speakers that are blown and you don’t mind taking the risk that comes along with DIY speaker repair, you can go ahead and try to repair your own speakers.
Sometimes, you'll be wanting to repair the speaker itself. However, if another component has broken - say the outside foam driver - then you might want to take a different approach.
Also, check out our helpful guide if you have no previous knowledge of how to strip speaker wire.
Before that, however, check out these helpful tips for repairing your own speakers.
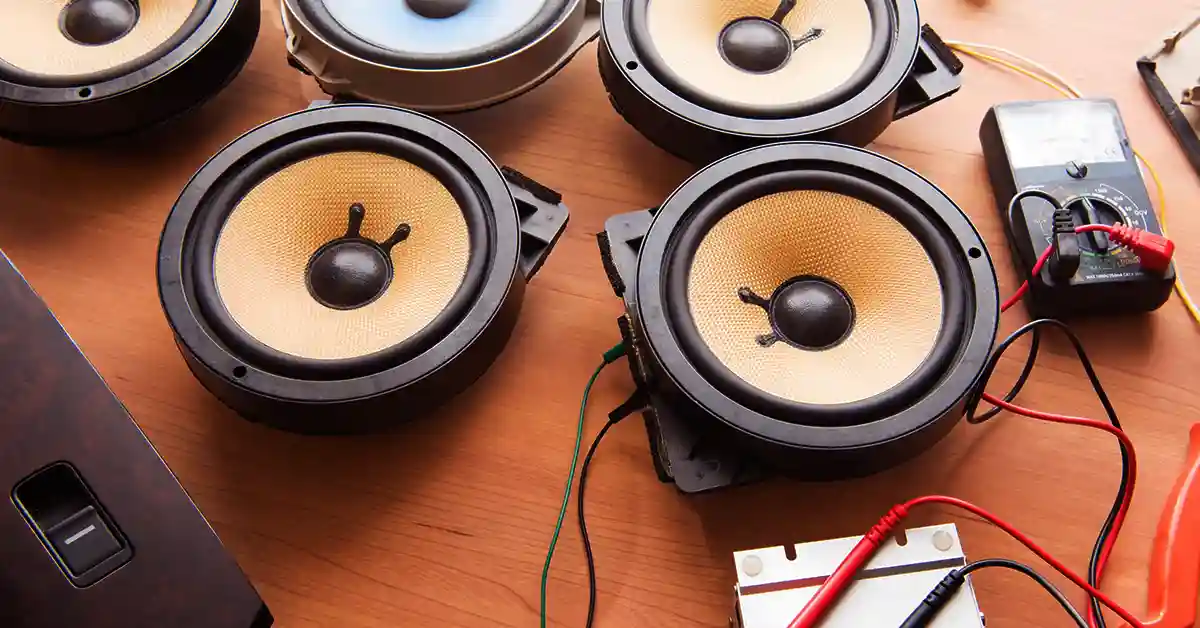
Determine Which Speaker Is Blown
When it comes to repairing your speakers, you’ll have to diagnose which speaker is in fact damaged. Here are some easy ways to do just that:
If you are unable to see any physical damage to your speakers, you will have to go to each speaker and listen to the sound that is produced by each of them, to find the most distorted speaker.
If you have access to left and right balance controls, or an equaliser, you can shift the audio balance and carefully listen out for subtle changes in the sound that indicate a blown speaker.
Disassemble The Blown Speaker
Before disassembling your speaker, you will need to gather some materials to help with the job, including:
- A screwdriver.
- A knife.
- Glue.
- A needle.
- Thread, a similar color to your speaker cone.

If the speaker has a metal faceplate or cover, remove it by using the appropriate screwdriver type and size, proceed to remove each screw of the speaker cover. Be sure to keep all screws together in one place.
Remove the screws with care, making sure not to cause any further damage. Gently remove any fabric covering the speaker - should there be any glue, get rid of it by easing a knife to remove it from the fabric.
Check The Diaphragm For Tears
If there are any tears or holes in the diaphragm, that is an accurate indication that the diaphragm or cone can be the problem with the speaker.
The diaphragm or cone is a transducer that converts mechanical vibrations into sound, it is the main, active part of the speaker. If there are any holes, rips or tears in the diaphragm, you should get those closed up as quick as you can.
Check The Voice Coil for Damages
Damage to the voice coil does not necessarily mean your speaker is blown, however it does indicate there is some damage to an extent. A voice coil is a piece of wire of the speaker that is wrapped around the center pole of the speaker.

The voice coil is thinly wrapped wire that is incredibly light in weight, and can be easily damaged in these common ways:
- Voice coil overheats when a heavy amount of current passes through the electric field.
- Voice coil might be broken due to physical movement.
If the voice coil is broken, you can check if you are able to get a new voice coil for your speaker.
On the other hand, it's most likely that your speaker will have to be replaced.
Using Glue
Using glue on the speaker is something that requires a bit of care, patience and time. Try the below steps to help repair a speaker using glue:
Hold the speaker so that you’re able to close the tear or gap with your fingers.
Apply some glue and spread it evenly with your fingers over the tear.
Keep the gap closed so that the glue is able to get tacky and harden.
Once the glue has solidified, you’ll want to leave the speaker for a while just to ensure that the glue is going to set.
Using A Needle And Thread
If there are more severe, larger tears in the speaker, you will have to use a needle and thread to try and close the tears.

Begin by gently piercing the diaphragm with a needle, slowly thread the needle to close the gap.
Be sure not to pull too hard on the needle and thread, but just hard enough that the gap is closed.
Tip: Once finished threading the needle, and the gap is closed. Take some glue or silicone rubber, run this over the newly repeated tear.
Use Soft Silicone Rubber
Instead of using glue, you can also use silicone rubber. That is better than glue as it doesn’t dry rigidly.
Speakers vibrate back and forth with a lot of movement, using soft silicone rubber to repair a tear in your speaker will provide a bit more longevity. As the silicone is flexible and moves, there is less likelihood of prevention of further breakages.
Ordering Replacement Parts
Firstly try to find the name, brand and model number of the speaker and its parts.
You can search for replacement parts of various parts of the blown speaker, even online there are stores that sell repair kits and parts/components of a speaker. When replacing any components of the speaker, be sure to pay extra attention to how they were originally put together or how they should be in place.
Testing Your Repaired Speaker
When you first test out your newly repaired speaker, you should definitely set the volume to rather low to start off with.
Make sure whatever song you first play, has gentle sounds. Don’t forget to play songs that you know your speaker could handle too.
Ease your speaker into testing, you don’t want to possibly break your speaker or any components again.
Causes of Speaker Failure
Common causes of speaker failures:
- Physical failure: Parts of the speaker that are exposed, not installed correctly, if parts of the speaker can move, knock against each other, dislodge etc, will cause damage, especially over a period.
- Electrical failures: Occurs when excessive bass is exerted and too much power is applied to the speaker, which can result in the voice coil overheating and ‘burning' or melting’.
- Incorrect set up: If a speaker system has been incorrectly set up, it can cause damage and ultimately result in a blown speaker.
- Clipping - audio clipping usually occurs in sound systems that have a dedicated amplifier. Clipping occurs when too much power is omitted to the speaker, too much for it to handle. Over time this will cause significant damage, and possibly result in blown speakers.
Conclusion: Fixing Blown Speakers
So although it is best to seek professional help to fix a blown speaker, it is possible to repair small damages like a dent in the speaker's diaphragm with care, and tears or holes in the cone can be patched back together. The sound of your speaker may be slightly altered, the quality may not be good-as-new, but if you’re not looking to spend the amount of a new speaker, then DIY fixing is the cheaper solution.
Related Articles