How To Install In Wall Speakers
In-wall speaker installation is quite a delicate process.
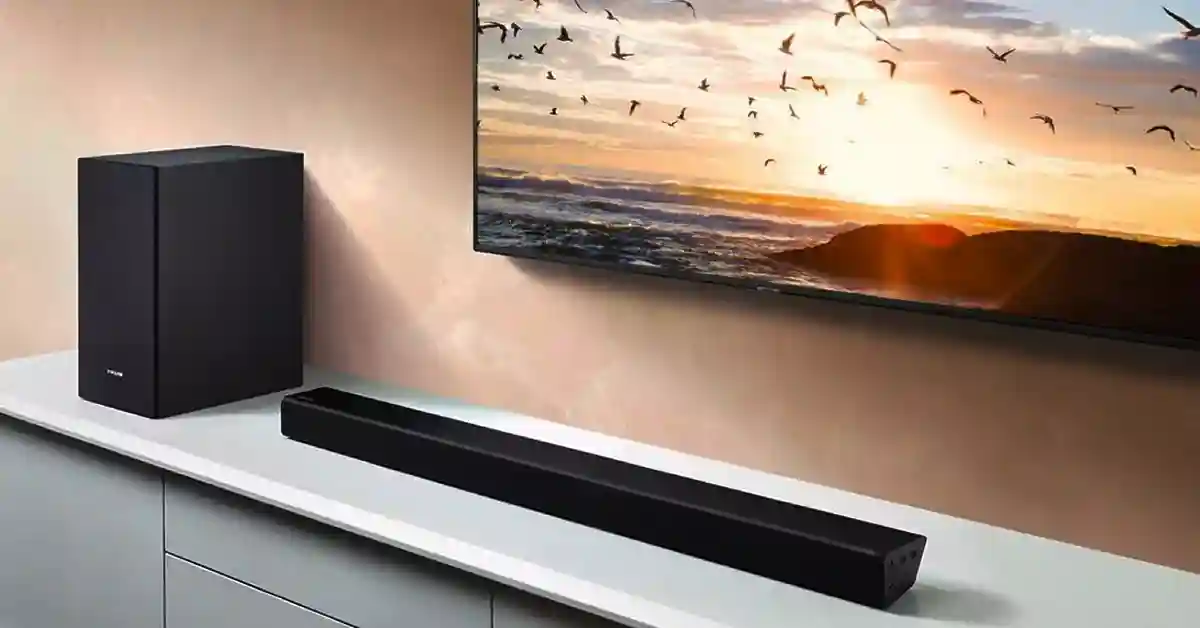
It serves as a beautifully disguised interior design element that can wow your guests on arrival. While you’re hosting your cocktail party, housewarming party, or just a simple get-together, nobody can bump over your speakers. Drinks cannot be spilled on your system. It’s a matter of convenience and provides space for your guests and furniture.
These massive speakers finally have a space to themselves without being moved or touched. Installing in-wall speakers also serves as a benefit if you don’t have speaker cabinets.
How To Install Speakers In Wall
In-wall speakers setup has to be a project that is planned properly and safely. If you’re a hands-on person then this is definitely the DIY project for you. You can perform this project at any time of your choosing. It has to be for the right reasons though, it doesn’t make sense that you’re installing in-wall speakers but you only use portable speakers.
Choosing the room in which you’re going to install these speakers is very important. Before we move on to anything else, please make sure that you’re not installing in-wall speakers to a brick wall. Your drywall saw will unfortunately not cut through those bricks.
Place your speakers in a location that needs the sound. The television room is an essential place for in-wall speakers. Another option is building these speakers in your room. If you’re a gamer, love to watch movies in your room or you have a movie theatre room, these are excellent places for in-wall speakers. You find that the ominous, hidden sounds can serve as background noise as well as the main focus audio.
How To Install Wall Speakers For Surround Sound
Surround sound, movie sound, background noise, or gaming noise, in-wall speakers can serve many functions. As a disguised look, you can decorate your speaker grill with leaves and branches to match nature. This is an alternative but your guests will be amazed that the plants are producing the sound.
Getting into more of the technical phases, there are a few things that you may need. The first step you should take is setting down some tarp in your workspace. You’re going to gather up a lot of dust and making it efficient enough to clean is the number one step. Once you’re done, you can fold the tarp, collect all of the dust, and shake it off outside.
However, here are all the tools you will need:
Tools You’ll Need:
- Drywall saw
- A stud finder
- Tarp
- Masking tape
- Pencil
- Leveler
- Notebook
- Wire stripper
- Tape measure
- Drill with a long bit (wide enough to pass your speaker wire)
- A No.2 Phillips screwdriver with a couple of screws
- Personal Protective gear (goggles, gloves, hard hat, and safety boots)
- Fiberglass rods or an electrical snake to run the wires
Where To Place Your Speaker
It’s essential to have a clear plan before you cut or install anything. Planning is important as it assists in avoiding any unnecessary mistakes. Assess the design and layout of your house, where the wires and pipes are situated, where to cut, how far to cut, and how deep you can cut. You might need access to any space behind the wall, like an attic, to run the wire. Accessibility is a priority in this instance. Ideally, you want your speakers facing the couch, and if you’re using two speakers, have them spaced out equally in comparison to your television. Average speakers positioned in a quintessential location may sound better than top-quality speakers placed in the wrong spot.
- You need the exact measurements of your speaker system from the speaker size, amplifier, or external receiver (if you’re going to place the receiver inside the wall as well), and any extra equipment you wish to place inside the wall.
- Use a stud finder to mark the sections of the drywall that have a stud.
- Measure the equipment with the tape measure and record your measurements in your notepad. Remember, measure twice, cut once.
Tip: In-wall speakers should be placed in a position that is at ear-level. This is about 38 to 42 inches from the floor.
Measure And Mark
This step is a clarification on measure twice, cut once.
- Identify any wires and electrical installation behind the wall.
- Use a quality stud finder to identify any metal pipes, wires, studs, or any hidden obstacles behind the wall. Mark these areas with a pencil and make sure not to drill into them
- With the measurements of your speaker written on your notepad, measure and mark out the measurements of your speaker on the wall. This will be the template you will use for cutting. If the speakers come with a cut-out template, that makes your job even easier. Account for about an inch of space just in case the speaker is fitting too tight. You can always cover the hole with your grill at the end.
Create A Safe Cutting Range
- Turn off the power in the areas you will be cutting. We want to avoid any electrical shocks.
- Drill a pilot hole. Be careful when drilling a pilot hole, you don’t want your drill bit getting caught in the drywall.
- Insert a well-made wire into the wall, like a coat hanger to explore the area you wish you cut into. This step is to ensure there’s enough room for the speaker.
Once you have confirmed the cutting range for your speakers, make sure that it is safe to cut deep enough and wide enough.
Cutting And Drilling
Tip: Use Rough-in brackets to give your speaker a sturdy brace between two studs. They are helpful in the construction of an existing room.
- Use a leveler to align the template. This ensures that the template or drawn cut-out is straight.
- Mask off the area that you’re going to cut into. Don’t worry about precise angled cut-outs, the speaker frame will cover that up.
- Grab your drill and saw to begin the cutting process. Cut out the template that you have drawn on the wall with your drywall saw. Cut at the four corners and go along the template drawn out. For this step, it is advised to wear gloves and goggles.
- There will be a lot of dust in the area. Your tarp will cover the floor and any surroundings at your workplace. Be sure to cover the furniture as well.
Wires
If you have an attic, you can run wire through there or beneath your floor, depending on how accessible the wires are. It all depends on the type of room that you’re using. An additional option would be to remove your baseboards and run the wires into the drywall behind the baseboards.
This is the perfect opportunity to run your wire to an external receiver or amplifier. The attic is an ideal place to run your wire to an external device. Be sure to always use high-quality, low resistance, in-wall speaker cable. The length of your cable needs to cover the span of 15’ and we’d recommend a 16 gauge wire. Leave some wire out to drop-down for in-wall speakers. Read up on some websites or approach a design expert for questions on selecting the appropriate speaker cable. Our website should have a website on selecting proper cable.
Running Speaker Wire
- If you are running the wire from a floor or crawlspace, you will need to drill a hole to access the wire either from the top or bottom plate of the wall and into the wall.
- If the wires are going through the walls in a lateral position, cut small holes in the drywall.
- You can use a utility knife for this to expose the studs.
- Drills holes in the studs big enough for the wire
- If you are running wire behind the baseboards, remove the baseboards first.
- Cut an entrance and exit channel in drywall for the wires
- You can replace the baseboards when putting them back in.
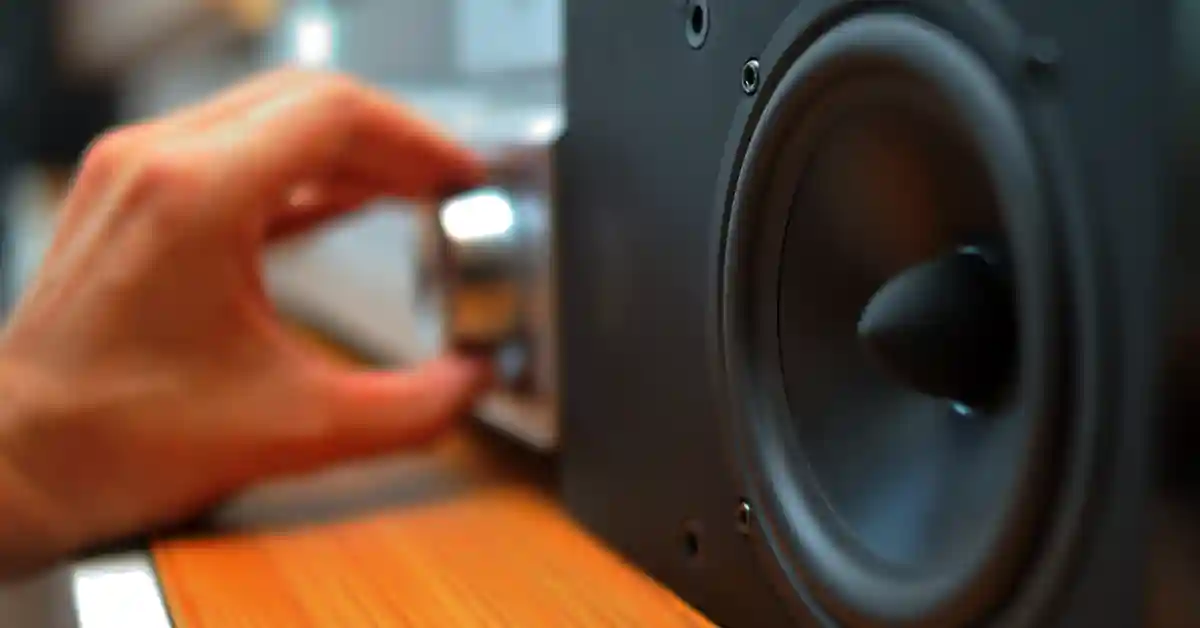
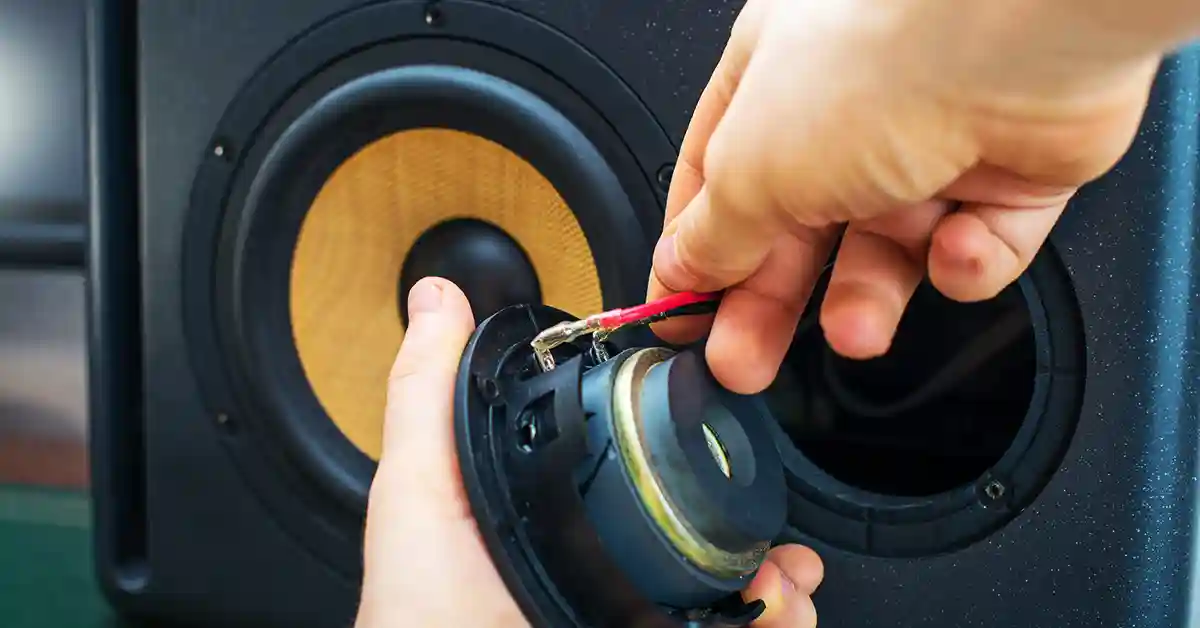
Connecting Your Speaker
Now that you have run your wire through their designated areas, the picture you’re looking at is a bunch of hanging wires. Painting the speaker frames and grilles to match your interior needs to be done before you install them. Use spray paint and cover the speaker components first.
- Switch off your amplifier or external receiver.
- Now you have to connect your speaker to your receiver or amplifier with the wires connected to their correct terminals: Positive to positive and negative to negative.
- Attach the wires to the binding posts of the speaker.
- Most speakers that are installed in an in-wall setup use dog-leg clamps to secure the speaker to the wall. Tighten the screws of the speaker on the front.
- Once you have secured the speaker in a tight fit, leave some space for your grill to be connected.
- You can connect your amplifier or external receiver to your speaker before attaching the grill or frame.
- Position your grill or frame on the outside of your speaker once connected.
- Tighten the screws for your grill or frame that attaches itself to the exterior of your speaker.
Test The Speaker
With every component sealed, screwed, and wired in, you can switch your speakers on and test the sound quality. The discrete look brings a sense of space to the room with the simplicity of an in-wall speaker.
Conclusion
Now that your interior speaker system has been set up, you can enjoy the music or background noises in peace. Your guests will be amazed and you will be able to step into your house with the perfect audio system.

Related Articles