How To Waterproof Speakers
Have you ever been out to a reserve park, just enjoying nature and hearing these background noises but they aren’t natural? The sound of crickets and the water trickling down waterfalls are not that loud.
You’re looking around for anything out of the ordinary but can’t seem to put your finger on it. The smell of the water piques your interest but the sounds are way too close to you.
Out of the corner of your eye, you notice this oddly shaped rock. This is when you’ve figured out their trick: Camouflaging speakers as outdoor objects to create background noises! That’s how all the audio you’re receiving seems so loud. With these speakers being so close to water, are they waterproof? How do they survive these harsh conditions? Why are they outside on the ground and not in a tree where water can’t harm them?
Well, for your convenience, we will look into that in this article.
Waterproofing Speakers
Before we look into waterproofing speakers, we need to look into the three different parts of a speaker. We need to know how a speaker works and why we would need to waterproof it. A speaker consists of the:
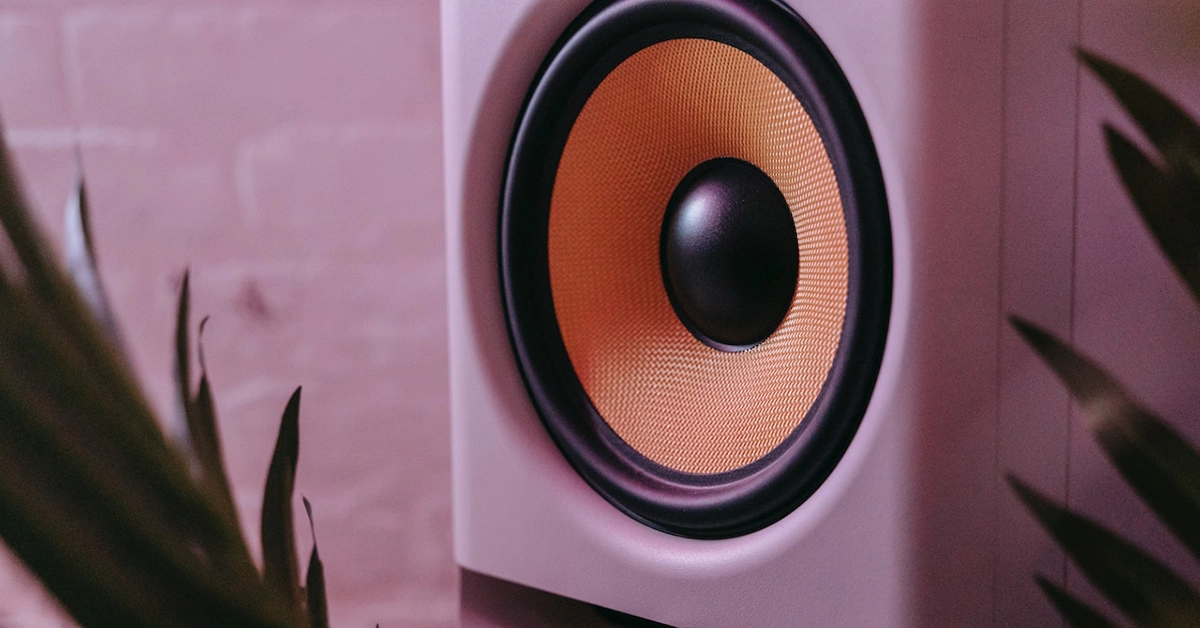
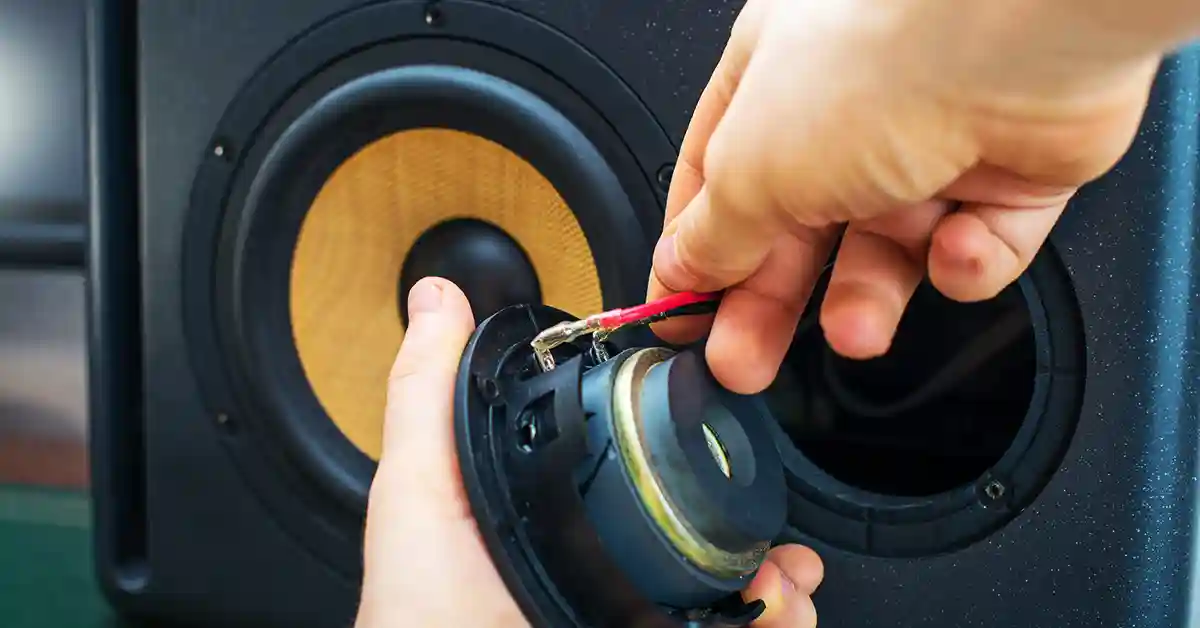
The drivers convert electrical energy into vibrations, producing different sound pitches. Drivers are the transducer elements of speakers that produce vibrations in the air, allowing us to hear the sound. A diaphragm is used to move back and forth to aid in this process.
You can buy drivers that are treated with special polymers to protect them against moisture, rain, and snow. Manufacturers would charge you a different price for this “upgrade” to your drivers. If you’ve already purchased your speakers and would like to protect them against the harsh outdoors, you can apply polyurethane on the drivers to ensure water-resistant qualities. Brush-on spray polymers can also achieve the same results.
Make sure to periodically reapply the protectant if you’re living in more extreme weather-like areas.
The crossovers are electrical filters that split up the audio signal and divide the sound pitches via the drivers. The crossover is where the unfiltered audio signal is divided according to a predefined upper or lower threshold. They supply each driver with the signal range it was designed to best reproduce.
- Cabinet:
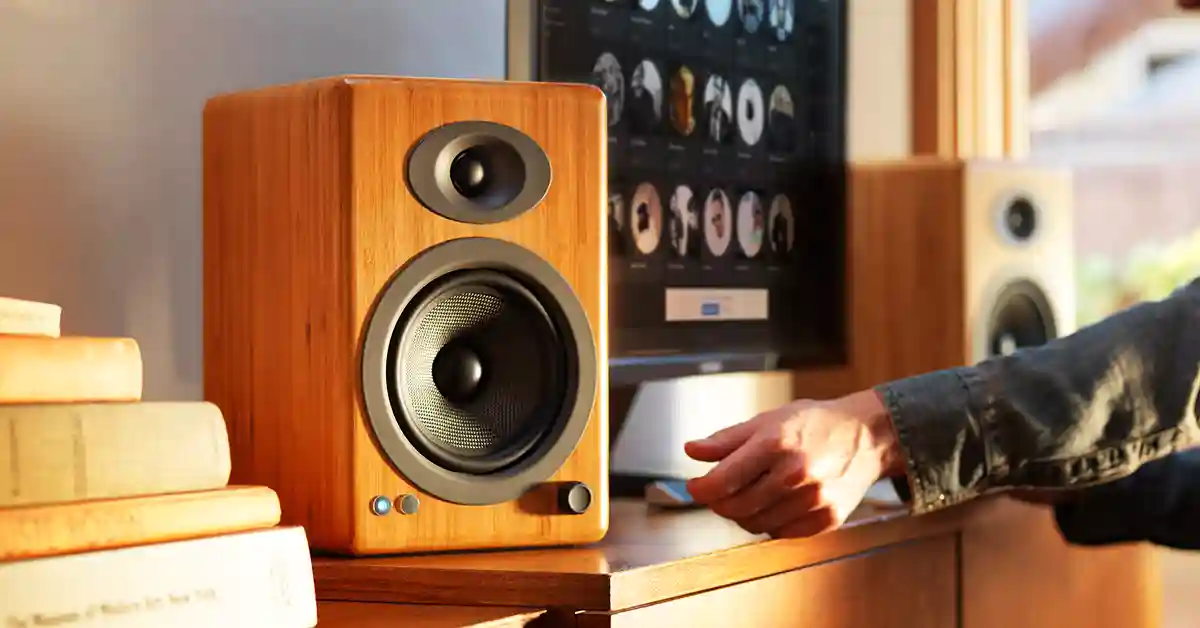
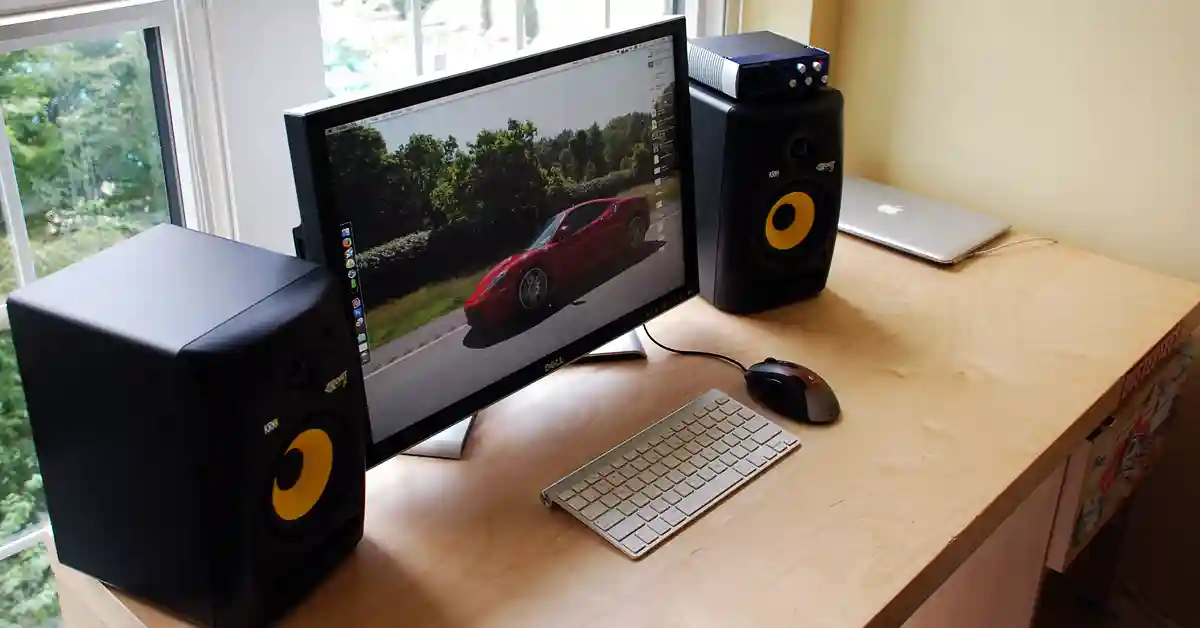
The cabinet is the housing case that the speaker is situated in. All of the internal components of a speaker are placed inside the cabinet. The cabinets act to manage the sound waves and affect the sound produced.
If your cabinet is made of wood, apply a couple of coats of polymer protectant to reduce damage from harsh weather like rain, snow, and sunlight. This does not make your speakers waterproof but it does not prevent damage. Another option to prevent damage would be to apply a few coats of spar varnish used for finishing and protecting the wood.
Looking at the different components of the speaker, you’re going to identify what you need to be waterproofed or weatherproofed. The differences are clear because we aren’t looking to fully submerge speakers underwater. That type of job would require you purchase built-in speakers in your pool or speakers with a type of waterproof casing around them.
How to Weatherproof Speakers
The terms waterproof and weatherproof are often interchangeable. We refer to speakers being water-resistant and sometimes considered outdoor speakers. When placing speakers outdoors, always position your speakers in a location that prevents or limits direct exposure to sunlight, rain, and snow.
Waterproof VS Weatherproof
The ideology behind waterproofing speakers shouldn’t center around the fact that you want to play music from your speakers while they are underwater. Buying underwater speakers that are already waterproof is the main path to follow when playing music underwater.
We’re more focused on keeping speakers outdoors where it undergoes extreme weather conditions. Looking to make your speaker weatherproof is a different scenario. The speakers would be outside, probably near your patio, hanging from beneath your roof, near your pool area, or even near a tree. The quickest and cheapest way to accomplish this task is by coating them in a high gloss polymer. A polymer varnish or a polyurethane spray will do the job. You can weatherproof your speakers with a high gloss polymer and improve their resistance against harsh weather like rain or snow.
What You'll Need
The polymer acts as a waterproof spray for speakers:
- Waterproof Case (Use this if you would like to replace your wooden casing)
- The speakers that you’re going to use
- An amp
- Polymer spray or the Polyurethane spray
- Newspaper
- Your toolbox (Especially a flathead screwdriver)
- Foam brush
It is recommended that you speak to an audio specialist before purchasing any sealant. You don’t want to use any products that might harm your speakers or diminish their performance. Especially when you’re applying foam to your wires, make sure it is safe to use and it doesn’t damage the speakers. Here are two websites to consult for any waterproofing products:
Steps for Waterproofing Speakers
- Prepare to mess. Your workstation will get messy with all the coating. Ensure proper ventilation because you will be spraying the coating on. Lay down newspaper to ensure quick cleanup.
- If you’re going to use the waterproof casing, make sure that you remove the wooden casing of your speaker first. Once removed, the components will be loose but they will also need to be waterproofed. Apply the sealant to the grill and other non-electrical components. Use the polyurethane foam spray for the wire inputs of the speaker. This would reassure the fact that the speaker components won’t be damaged when exposed to water.
- Remove the grill that covers the speaker cone
- Mix or shake the sealant properly before applying it to the speaker. The substance can be applied to the speaker after a proper 30-second shake. Use a standard foam brush to evenly apply the sealant to the exterior of the speaker. Apply the sealant to the cone as well.
- With the wiring, a simple and inexpensive method to protect the wires would be to run them through PVC piping. Burying the wires underground that can connect to an indoor outlet would double the protection against water.
- Make sure that you seal the pipes to prevent any insects, debris, and moisture from entering
- Westlake Chemical Corporation, Celanese Corporation, and Polyone Corporation are examples of companies that supply PVC piping and most polymer sprays and foams for this build
- Use the polyurethane foam spray for the wire inputs of the speaker. This is an ideal way to waterproof delicate areas of your speaker. Make sure that the sealant is dry because you don’t want to disturb the coating integrity.
- Allow your speaker to dry, preferably overnight in a well-vented area.
Conclusion
DIY waterproof speakers are a great idea if you’re looking into listening to music underwater. The sound won’t be the same as on dry land but you can build speakers in your pool or swimming area. Having your speakers weatherproof is more of an ideal feel when you’re chilling outside with a cocktail. Position the speaker to hit that sweet spot and your music will turn a house party into an outdoor party.
Why not add multiple speakers in your backyard, invite a couple of friends without mentioning the speakers and once they step into your backyard, they will be amazed by the music coming from the tree roots. You will have the backyard that everyone raves about!

Related Articles